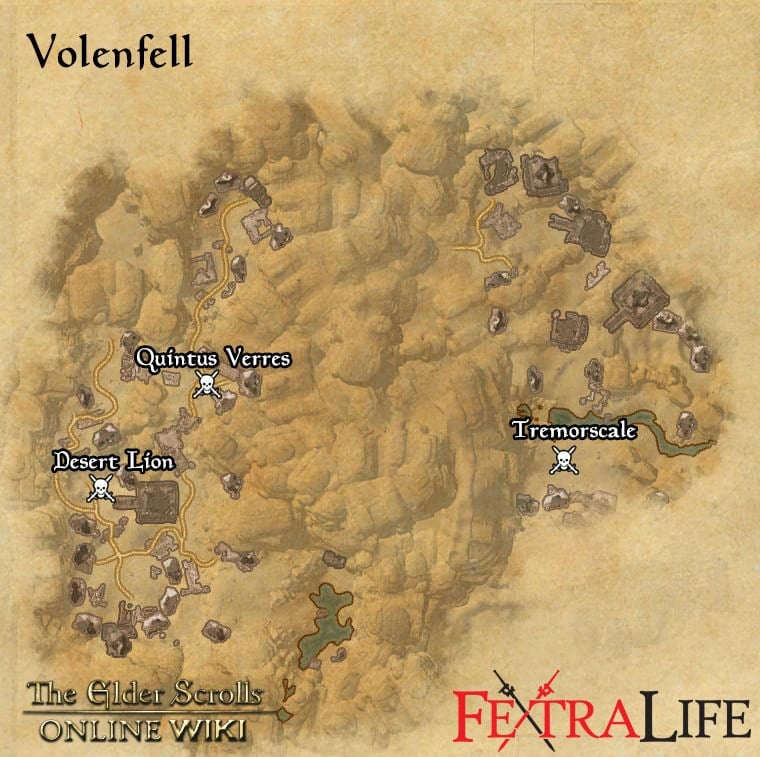
Volenfell is the third 4-man dungeon in Elder Scrolls Online for players of the Daggerfall Covenant. It is located towards the south-east in Alik'r Desert. In Veteran mode, this dungeon is quite possibly the hardest at VR12. Players can use the Group & Activity Finder tool to easily find groups to tackle this dungeon with.
Veteran Walkthrough & Strategies
Volenfell is an amazing dungeon with some great loots and boss fights.
Desert Lion
Level 160
Health: 1,737K
Strategy:
- ??
Quintus Verres
Level 160
Health: 3,867.1K
Strategy:
-
The first boss of the Volenfell dungeon is Quintus Verres, who battles in three distinct phases. Verres begins the battle as a standard melee fighter, then transitions into a ranged caster and finally summons a powerful add to assist just before the battle comes to an end. As long as you know how to handle each phase and you have a solid healer, this battle is fairly simplistic.
During the first phase, the only major concern is an AoE attack that hits any party members close to Verres. Ranged DPS will not have to worry about this attack, and a well-geared tank can take the attack without too much to worry about (although healers should quickly get the tank's health back up to full). Melee DPS should definitely avoid this attack whenever possible. If the boss uses a Power Attack, it can be blocked.
The second phase begins when the boss reaches roughly 50 percent health. Verres uses fire-based magic to target random party members, as well as placing multiple flame circles around the area. This puts a slight strain on the healer, but as long as party members avoid the flame circles and the healer keeps up with the damage, there isn't much more to worry about during this phase.
For the third and final phase, Verres summons a Monstrous Gargoyle. The monster uses a forward-facing AoE attack that can be dodged (although you may have to use stamina to roll), and an AoE that has a large radius around the boss. The Gargoyle's Power Attack can be blocked, so it's not a huge concern. The healer should keep all party members near full health throughout the last two phases of the fight, but especially during this final phase.
Monstrous Gargoyle
Level 160
Health: 1910.1K
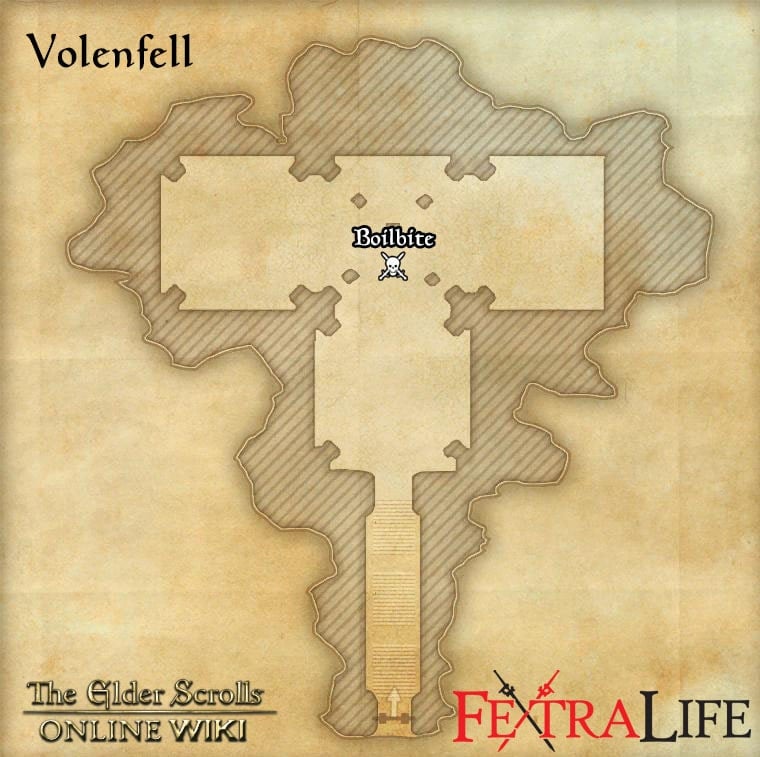
Boilbite
Level 160
Health: 1745.4K
Strategy:
- There are only two aspects of this boss battle that you need to worry about. The first are the three adds that attack alongside Boilbite. Deal with these before you focus too much on the boss. The boss doesn't have many attacks that you need to worry about, but with the adds alive, the fight is much more difficult. Take them out as quickly as possible before you move on to the boss.
- The second aspect of the battle that you need to be careful of is the huge AoE explosion that inflicts massive damage to any party members close to Boilbite. Ranged DPS classes won't have to worry about this, so if you have a party that primarily consists of ranged DPS, the healer will have it easy. However, the tank and melee DPS classes need to pay close attention to avoid this attack, or it will be difficult for the healer to keep everyone alive.
Tremorscale
Level 160
Health: 1912.8K
Strategy:
-
Much like Boilbite, when fighting against Tremorscale, there are two very dangerous attacks that must be avoided if you wish to have any success. The first is a tail attack that is telegraphed, but still difficult to avoid if you're not paying attention. Tremorscale lets out a roar, then turns to the side just before this attack is unleashed on the party. It hits any party members in close proximity, so ranged DPS won't have to worry about this one.
The second attack is when Tremorscale burrows underground. At this point, party members should spread out and conserve stamina so they can roll out of the way if need be. Anyone close to the area Tremorscale burrows through will take heavy damage from the attack, so it's important to spread out and avoid the attack at all costs. If the entire party is hit, it will be very difficult to recover.
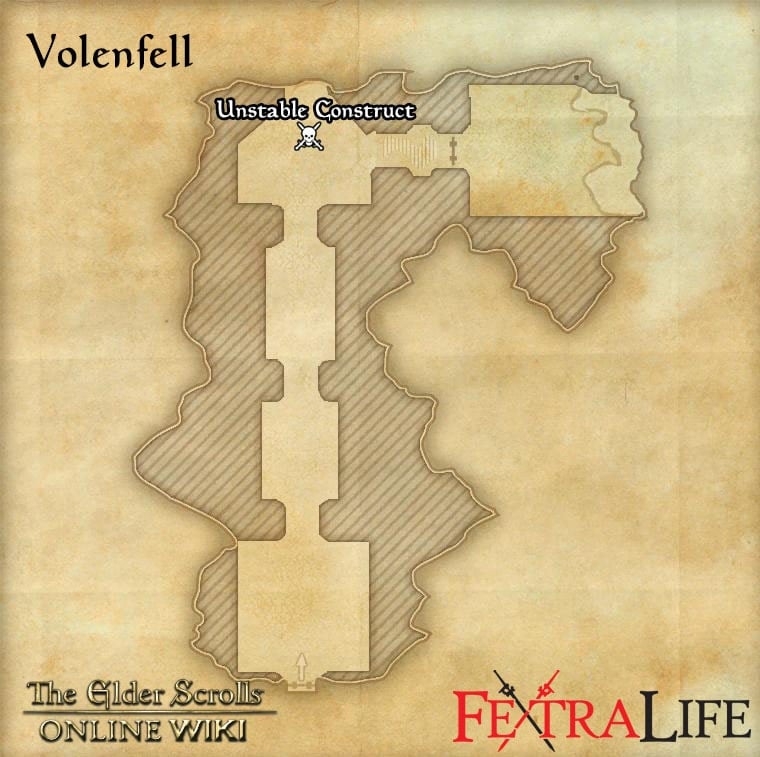
Unstable Construct
Miniboss Level 160
Health: 1742.4K
Strategy:
- ??
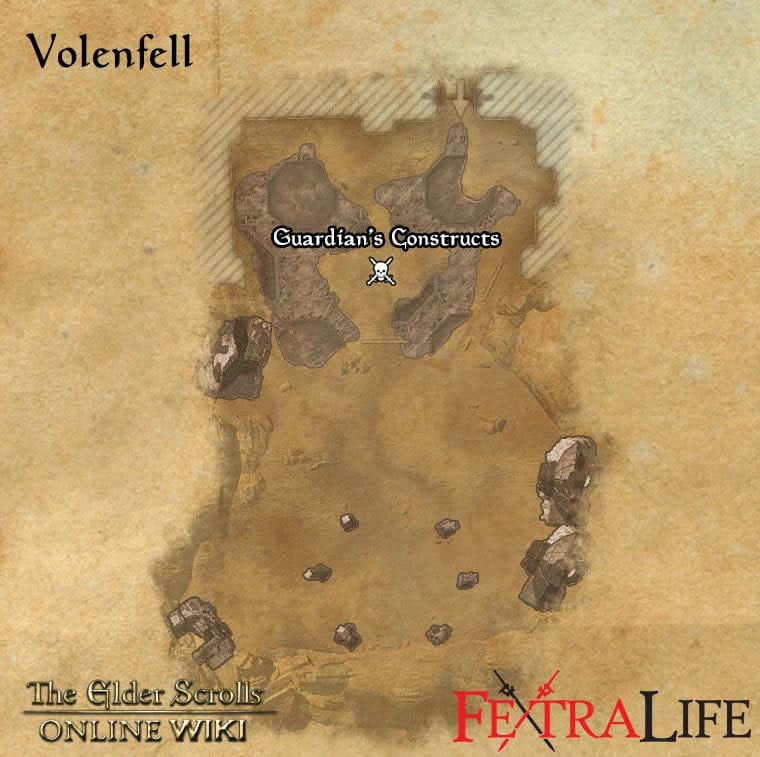
Guardian Constructs
Miniboss Level 160
Health: 1747.4K
Strategy:
-
The final battle of this dungeon is against three bosses: The Gardian's Strength, The Guardian's Spark and The Guardian's Soul. All three bosses are fought at the same time, but there's a specific order you need to fight them in order to get through this battle without too much difficulty. Soul heals all three bosses, which means it needs to go down first. If you leave Soul alive, it will be difficult to take out the other two bosses.
Once Soul is down, shift your focus to Spark. The boss continually shoots magic into the air that rains down on the party, but he rarely moves around. This portion of the battle is harder on the healer than any other class, as it's important that the healers keep the rest of the party alive through the various AoE attacks.
The last boss is Strength, which should be kited while Soul and Spark are being taken care of. Strength uses an AoE melee attack as it chases after a single target. However, the range of the AoE attack is fairly limited, so as long as it's being kited away from the rest of the party, Strength isn't much of an issue while Soul and Spark are being dealt with. This is the only treat that Strength has, so kite during this AoE attack and fight it normally at all other times.
-
NOTE: Soul doesnt actaully heal them. He splits the damage recieved by all bosses between everyone, healing the most wounded but damaging the 2 others. For me the most succesful tactic has been that tank takes soul and go to play with it in the back room. Strength has a mind of its own and is immune to taunts so who ever is his target, kites him around the room and DDs hit spark who doesnt move and is easy target. Soul will then split the heavy damage from spark between all bosses and they all go down pretty much the same time. DDs just have to dodge Spark's bombs falling from the sky.
Trivia
- ??
Volenfell Information
- Location: Alik'r Desert
- Suggested Level: 35-37
- Final Boss: Guardian's Constructs
- Achievements: 1
Achievements
- Volenfell: Defeat Quintus Verres, Tremorscale and Guardian's Constructs.
Quests
Volenfell Map
Bosses
Set Drop
NPCs in the area
Notable Items
- Tharayya's Notes
- What is Volendrung?
Enemies
- Assassin Beetles
- Boilbite (Assassin Beetle)
- Desert Lion (Mountain Lion)
- Dwarven Centurion
- Dwarven Sphere
- Dwarven Spider
- Dunerippers
 Anonymous
Does the "Guardians Soul" really heal the others? I thought what this beam does is basically it adds the health of each of the three centurions and then divides it by three so each of them has the same health.



Isn't it in Alik'r Desert
1
+10
-1