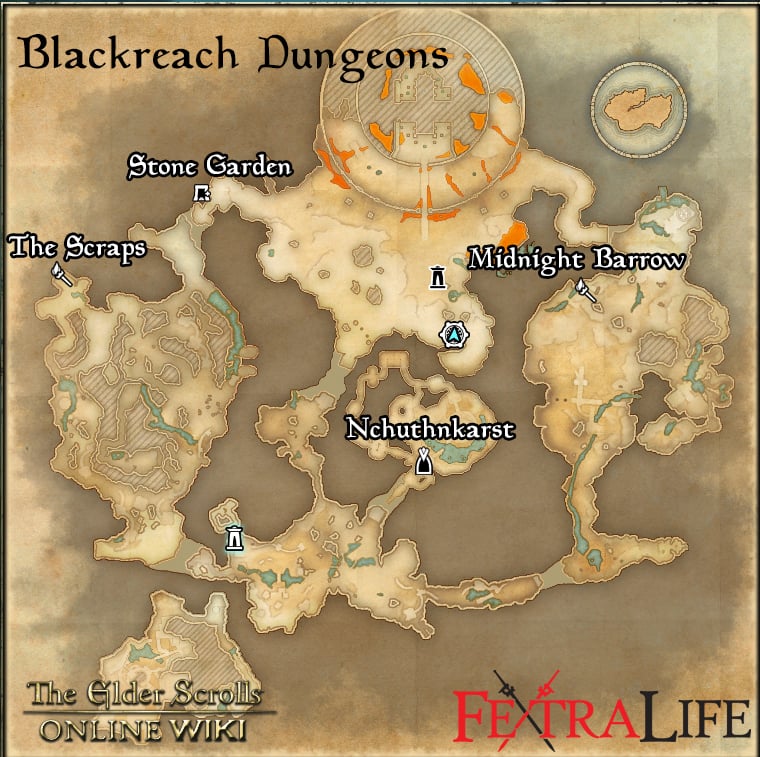
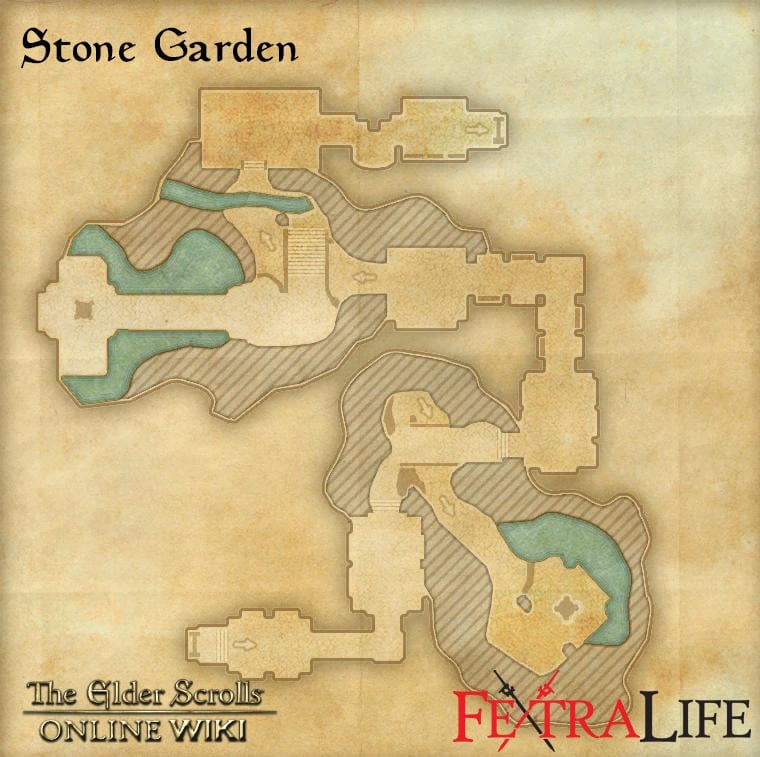
Stone Garden is a 4-player Group Dungeon in The Elder Scrolls Online (ESO), located in the Greymoor Cavern of Blackreach, Western Skyrim. It is part of the Stonethorn DLC. It features Normal and Veteran Modes. Players can use the Group & Activity Finder tool to easily find groups to tackle this dungeon with.
Deep within the caverns of Blackreach lies a secret laboratory where all manner of unspeakable research is performed. Arkasis, the mad alchemist in charge, tests new concoctions and experiments on both willing and unwilling subjects. What horrors lie within his Stone Garden and what does it mean for the Dark Heart of Skyrim?
Stone Garden Veteran Walkthrough & Strategies
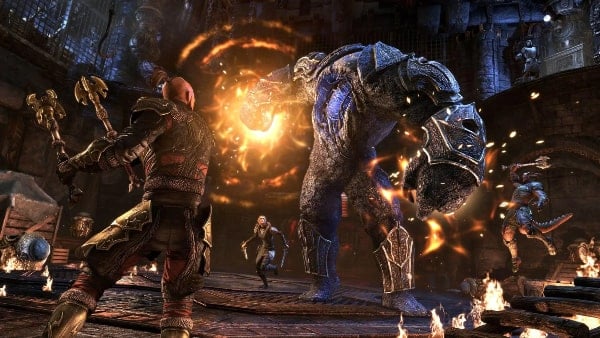
Stone Garden is a werewolf-themed dungeon that takes place in an underground laboratory setting. The enemies primarily consist of humanoid mobs that transform into werewolves, as well as other beasts and golems. The dungeon has 3 bosses, all of which have a Hard Mode that can be activated. You will also be given a quest and accompanied by Gwendis throughout.
Suggested group composition for Stone Garden
- 1 Tank
- 2 or 3 DPS
- 1 Healer (Recommended if playing Hard Mode encounters)
Objectives
- Quest: Method and Madness - Disrupt the vile lycanthropic experiments being conducted deep beneath Skyrim
- Quest: Pledge: Stone Garden - Prove you are truly Undaunted by clearing Stone Garden
The dungeon also employs two special mechanics to aid the player throughout:
Werewolf Transformation
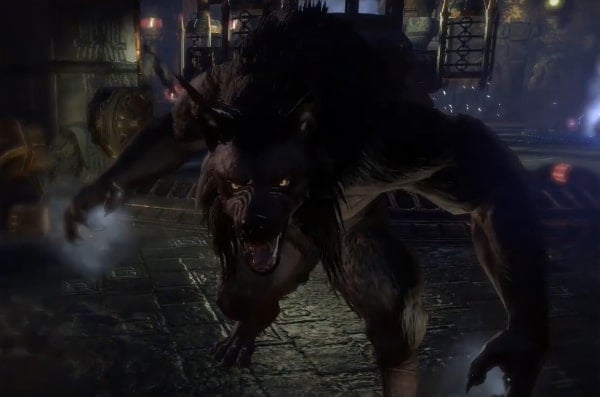
Throughout the dungeon, you will come across moments when your companion Gwendis throws several potions on the ground after defeating certain enemies. Using these potions will transform you into a powerful Werewolf Behemoth for several seconds, replacing your skill bar with a set of unique skills:
- Vicious Bite
- Applies a Bleed effect that deals 27,000 Physical Damage every second for 10 seconds.
- Taunts the target
- Rampage - Charge an enemy, dealing 75,003 Physical Damage and hitting all enemies within 6 meters.
- Generates 5 Ultimate
- Has a cooldown of 2 seconds
- Knocks back and stuns weaker enemies
- Bonecrusher - Smash the ground, dealing 350,016 Physical damage to all enemies within 8.5 meters of yourself.
- Generates 25 Ultimate
- Has a cooldown of 14 seconds
- Interrupts enemies hit and stuns them for 2 seconds
- Thunderous Stomp - Stomp the ground, sending multiple tremors that travel 50 meters, dealing 160,007 Flame Damage to enemies and knocking them back.
- Generates 20 Ultimate
- Has a cooldown of 10 seconds
- Bestial Frenzy - Empower yourself for 10 seconds, reducing damage taken by 5% every time you deal direct damage. This effect stacks up to 5 times.
- Generates 30 Ultimate
- Has a cooldown of 20 seconds
- Any direct damage you deal heals you for 50% of the damage inflicted
- Dealing direct damage 5 times while this effect is active converts the ability into Hircine's Howl
- Hircine's Howl - Powerful AoE that deals damage in a cone in front of you and reduces enemy damage while slowing their movement speed.
- Lead the Pack - Leap to the selected location and ferociously slam down, dealing 620031 Magic Damage and stunning all enemies within 10 meters.
- Costs 500 Ultimate
- Impact revives Werewolf Behemoth allies
- Grants the use of Bestial Rage Synergy
- Bestial Rage - Generates 100 Ultimate, resets all cooldowns and grants guaranteed critical strikes for all damaging abilities for 10 seconds.
Alchemical Buffs
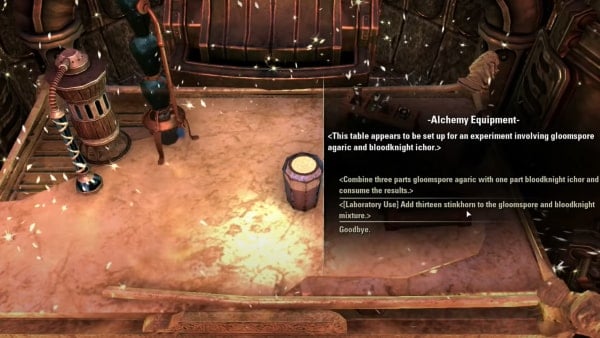

You may also come across the three locked rooms strewn across the dungeon. These rooms contain Alchemy Equipment tables where players can create concoctions using the Gloomspore Agaric mushrooms found throughout the Stone Garden, as well as a Bloodknight item from each of the Bloodknights that guard these rooms. These concoctions will enhance the player's Werewolf Behemoth form for the duration of the current dungeon run.
Note that players with the Laboratory Use passive skill can further improve upon the concoctions by adding reagents found throughout the world.
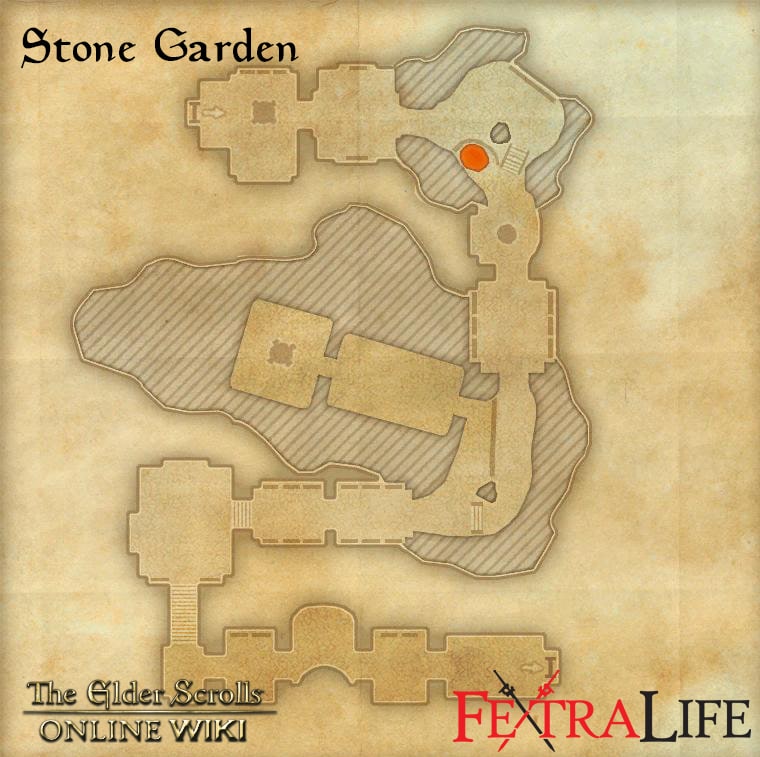
The first table is in a room found shortly after the first boss, locked behind an intermediate-level door. Guarding the table are a Bloodknight and two Werewolves. The Bloodknight will drop the necessary Bloodknight Ichor for the first concoction. The table presents the following options and outcomes:
- 3 x Gloomspore Agaric + 1 Bloodknight Ichor:
- Effect: Alchemized Strength - Weapon and Spell Damage increased by 275
- Laboratory Use concoction:
- Requires 13 x Stinkhorn
- Effect: Alchemized Super Strength - Weapon and Spell Damage increased by 375; As a Werewolf Behemoth, your Swipe and Mutilate Attacks now deal additional Cold Damage
The second table is in a room after the second boss, behind an advanced-level locked door. Defeat the Werewolf Packleader and Bloodknight to get the Bloodknight Organ.
- 3 x Gloomspore Agaric + 1 Bloodknight Organ:
- Effect: Alchemized Vigor - Magicka and Stamina Recovery is increased by 200
- Laboratory Use concoction:
- Requires 13 x Spider Egg
- Effect: Alchemized Super Vigor - Magicka and Stamina Recovery is increased by 400; As a Werewolf Behemoth, your Ultimate generation is increased by 60%
The final table is in a room just before the final boss, behind a master-level locked door. Defeat the Bloodknight and two Alchemized Chaurus to obtain the Bloodknight Brain.
- 3 x Gloomspore Agaric + 1 Bloodknight Brain:
- Effect: Alchemized Resilience - Maximum Health increased by 2500 and reduces your damage taken by 3%
- Laboratory Use concoction:
- Requires 13 x Luminous Russula
- Effect: Alchemized Super Resilience - Maximum Health increased by 3500 and reduces your damage taken by 6%; As a Werewolf Behemoth, the Health Recovery bonus granted by the form is increased by 200%
Stone Garden Boss Guide
Exarch Kraglen
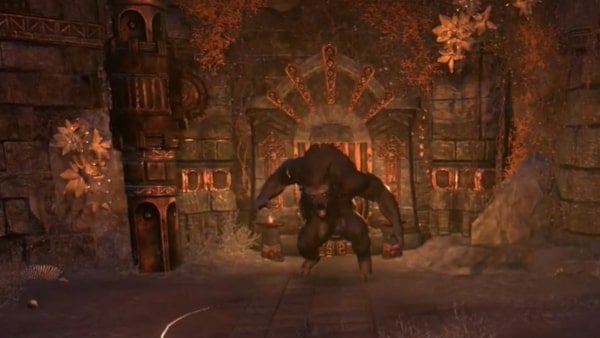
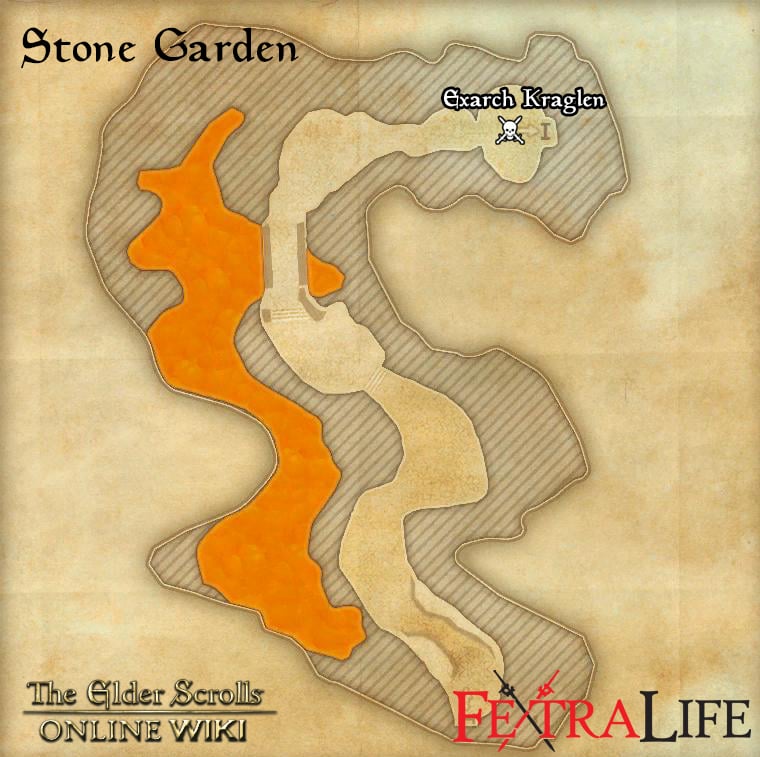
Exarch Kraglen is a Werewolf Behemoth that serves as the first boss fight of Stone Garden. He uses a lot of heavy swipes, stomps and a devastating roar that can drain player resources.
HP: 5.2M
Hard Mode HP: 10.5M
Boss Mechanics:
- Light Attack - A standard claw swipe that deals moderate damage.
- Heavy Attack (Slaughter) - The boss charges up for a devastating double swipe that deals massive damage. This needs to be blocked or dodged out of. Can one-shot non-tanks.
- Charge - The boss targets a random player and charges them, dealing massive damage and knocking the player down. This attack must be blocked.
- Blood Rage - The boss rears up and unleashes a deadly roar that will knock players back if they're too close. Moreover, the attack will drain Stamina and Magicka from players so this must be interrupted immediately.
- Ground Smash - The boss hammers both fists on the ground, creating an initial large quake which breaks into several smaller ones traveling in an irregular pattern around the room.
Strategy:
- You will be moving a lot in this fight and the boss doesn't have any cleaving or cone attacks to worry about so positioning is not very important. Just don't get caught in the AoEs near the boss.
- It is advisable to have the Crushing Shock or Venom Arrow skills in order to interrupt his Blood Rage from a distance.
- He has no notable additions in Hard Mode aside from having double health and increased damage to all his attacks.
Stone Behemoth
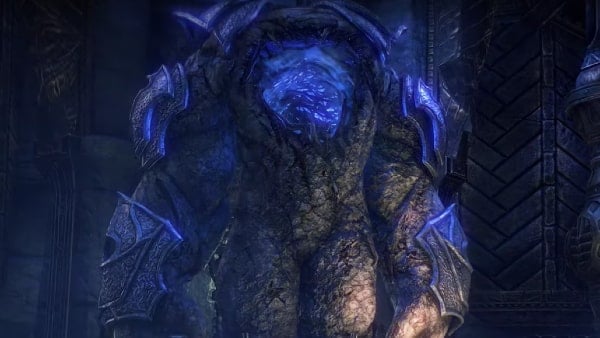
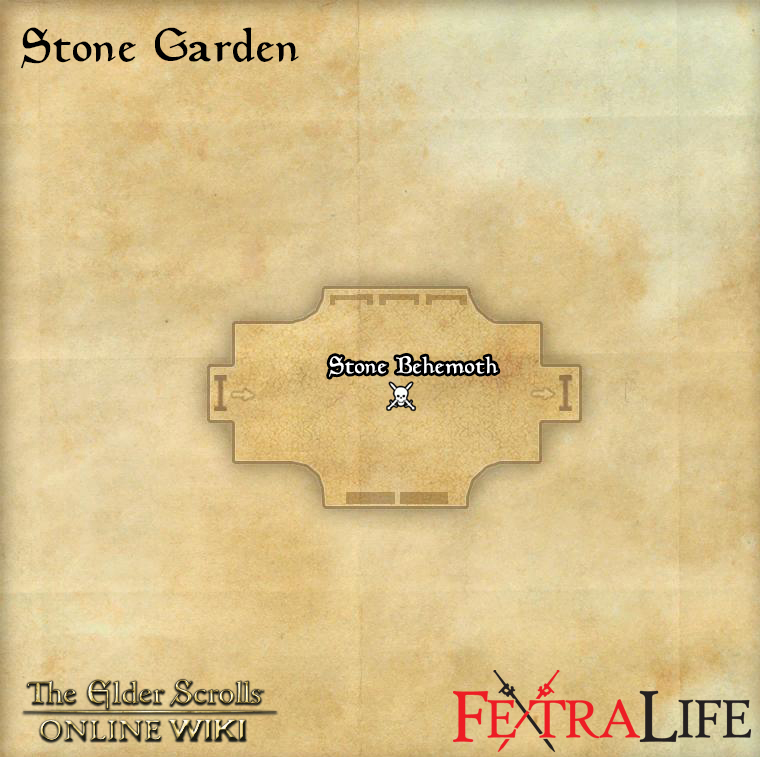
Stone Behemoth is a giant Stone Husk, serving as the second boss and found in the Testing Chamber of Stone Garden. Arkasis is present in the fight and he will regularly toss potions onto the behemoth, triggering a phase change into either lightning, fire or ice modes, changing the boss' attacks.
HP: 5.2M
Hard Mode HP: 18.9M
Boss Mechanics:
- Normal Attack - Regular punch attacks that deal moderate damage.
- Core Release - The behemoth pulls out its core and puts it in front of him as it explodes, dealing massive damage in a circle in front of the boss. This attack needs to be dodge and can one-hit most non-tanks.
- Ground Punch & Bomb Toss - These two attacks usually occur within seconds of each other. The boss punches the ground slowly with one hand and follows up with the other hand, creating several AoE patches. For the bomb toss, the boss throws out several projectiles. Both attacks will cause an effect depending on the boss' current elemental phase:
- Lightning - Simple explosion with a small radius that can stun.
- Fire - Leaves fire patches on the ground that persist for a long time and inflict a strong DoT effect on players.
- Ice - Leaves ice patches on the ground that persist for a long time and snares players, slowing movement speed.
- Follow-Up Nova - After creating two sets of either fire or ice patches on the ground, the boss follows up with nova attack by slamming both fists together. The effects vary depending on the current phase:
- Fire Nova - Causes a massive fiery explosion that takes up almost the entire room.
- Ice Nova - Immobilizes all players.
- Activate Stone Husk - On one side of the room are three Stone Husks that the boss will activate periodically. These will channel a roaming energy beam that drains player resources and causes the recovery for those resources to be severely hampered.
Strategy:
- Try to keep the boss close to the Stone Husks on the wall. This will allow you to cleave and AoE them down together when they're activated and it should also leave a small safezone on the opposite side for the boss' Fire Nova attack.
- Alternatively, you can tank the boss at one end of the length of the room to provide a larger safezone from the Fire Nova.
- During his Ice Phase, be careful not to be within range of the Stone Husk beams as getting immobilized by the nova while under the beams will be extremely disastrous, leaving you with no stamina to break free from the nova.
- For the Core Release, wait for the boss' arm to pop to the side before dodging to ensure you don't miss the dodge.
- The Stone Husks should be prioritized as they can put players at a significant disadvantage with their resource draining beam. As the fight involves a lot of AoE dodging, leaving two or three Stone Husks shooting beams everywhere can prove extremely chaotic.
- If Hard Mode is activated, the boss will have more HP, harder-hitting attacks and more frequent and numerous AoEs. There will be fire and ice patches that spawn on their own throughout his elemental phases, but these have a shorter duration than the ones the boss causes.
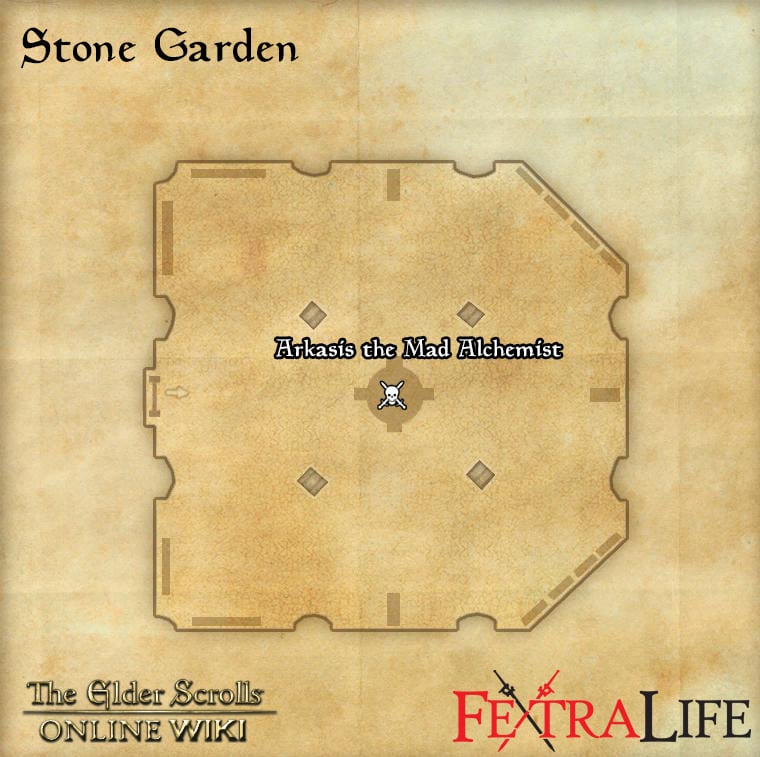
Arkasis the Mad Alchemist

Arkasis the Mad Alchemist is the third and final boss of Stone Garden. This fight will occur in phases and involves some complicated mechanics. There are intermission phases where players are required to transform into a Werewolf so it is advisable that you read up on the skills and what they do. Unlike the previous instances of Werewolf transformations in the dungeon, the transformations during this fight last indefinitely until the intermission phase is over.
HP: 7.4M
Hard Mode HP: 13.3M
Boss Mechanics:
- Commencement Phase - At the beginning of the encounter, Arkasis will be inside the device in the middle of the room. Gwendis will throw several Werewolf transformation potions for you to consume. Your goal is to destroy the 4 Pressure Valves on the pillars around the room to flush Arkasis out. Arkasis will occasionally throw out Shock Emitters from the central device. These charge up with lightning, culminating in a devastating AoE blast that hits all players. Destroy them with the Werewolf Behemoth's Thunderous Stomp ability. There will also be some Stone Garden Apprentices coming out to attack you.
- Boss Fight Phase - Arkasis will come down and you will be able to engage him to begin the actual fight. Note that you can raise the Challenge Banner to the left of the entrance to activate Hard Mode. Upon beginning the fight, he will set his dagger on fire.
- Light Attack - A quick slash with his dagger. While his dagger is on fire, this attack throws out a flame that takes a few seconds to arm, and then turns into a roaming flame tornado that bounces off walls.
- Heavy Attack - The boss raises his dagger up high, charging an attack that deals heavy damage.
- Fiery Stab - The boss performs a quick stab that sets the target on fire, dealing significant damage over time if not removed. He typically does this after two normal slashes or directly after a heavy attack.
- Flame Bottle - The boss tosses a bottle on the ground that jumps around the room 5-6 times, leaving an AoE patch with each jump. Places a fire DoT on players hit.
- Adds - Arkasis will summon one of four adds after his health is lowered to certain points. These adds all have a heavy attack mechanic that needs to be dodged, and they will enrage after being left alive for a while. The possible adds are Alchemized Durzog, Alchemized Chaurus, Alchemized Bristleback or a Bloodknight.
- Stone Garden Apprentices - Aside from the big adds above, Stone Garden Apprentices regularly spawn throughout the fight. They're not too dangerous but shouldn't be ignored either.
- Poison Bottle - This mechanic only comes into play after the first intermission phase at 60% boss Health. Arkasis throws a poison bottle at a location. The bottle spins in place while throwing out a set of two poison clouds per second clockwise. The clouds will travel all the way to the end of the room unless blocked by a pillar.
- Intermission Phase - At 60% and 20% Health, Arkasis will teleport back into the central device and activate four of the Stone Husks on the sides of the wall. Gwendis will drop several Werewolf transformation potions for your team. Pick up the potions to proceed.
- Stone Husks - The Stone Husks employ a tether mechanic which empowers them if there are any other Stone Husks nearby. To counter this, each player will use their Werewolf form to tank one Stone Husk each and keep them around the 4 pillars of the room.
- Acid Rain - The husks will periodically channel a spell that casts a green cloud above players' heads. If allowed to channel, this cloud will rain a devastating poison attack on the player. Be sure to interrupt this.
- Shock Emitter - These will periodically be fired through the pillars and land nearby. Simply face them and use the Werewolf's Thunderous Stomp ability to destroy them.
- Murderous Mark - This mechanic only comes into play during the second intermission phase at 20% Health. The husks will occasionally mark their player target and then enrage. To counter this, the player will need to swap husks with another player. Failing to swap husks will usually cause a one-shot.
- Execute Phase - At 20% Health, Arkasis will teleport back into the central device and get himself electrocuted by Gwendis' sabotaging of the device. Instead of dying, he transforms into pure lightning, resembling the Boundless Storm transformation. He also heals back to 40% Health.
- Attacks - Arkasis performs standard Light and Heavy attacks, as well as a conal attack that can all be blocked or dodge rolled.
- Bottled Lightning - Arkasis throws bottled lightning at each player which explode into a large lightning AoE that will follow each player around and deal devastating damage per second. Players will need to kite these AoEs around until the boss completes the next attack:
- Pinning Bolt - During the Bottled Lightning run, Arkasis will throw a bolt at a random player, pinning them down. Players hit need to be freed by other players the same way you would activate synergies. After three pins, the Bottled Lightning run ends.
- Charge - After the Bottled Lightning runs, Arkasis will charge a random party member and perform an AoE attack. This can be blocked or dodge rolled.
- Adds - Arkasis will summon one add from the same pool as previous phases. This seems to be triggered by his health at 38%, 30% and 22%. These need to be focused immediately outside of the Bottled Lightning runs.
Strategy:
- This fight is one of the most complex in Elder Scrolls Online and requires good coordination with your team.
- Players should assign themselves to a Stone Husk and a Pillar to tank the husk in during the Intermission Phases before beginning the fight. Keep watch for the Murderous Mark during the second intermission phase. If you are targeted, your screen will have a dark, desaturated effect, signifying that it's time to swap husks.
- A good strategy for tackling the husks is to have one player save their Ultimate during the boss fight phase, so they can immediately use it in during the Stone Husk fights, granting all players an additional 100 Ultimate who in turn can activate their Ultimate to do the same, cascading the effect.
- Alternatively, a well-coordinated team can use the above strategy and stack all the husks in the middle, cleaving them all down with AoEs and taking turns stunning the husks and activating their Ultimates and AoE abilities. If performed correctly, you can skip the Murderous Mark mechanic entirely as the werewolves do tremendous amounts of damage.
- Players should also decide whether to kite the Bottled Lightning clockwise or counter clockwise during the execution phase. Everyone should run in the same direction and within range of each other. In case a player falls far behind and gets pinned within the lightning, the rest should keep on running ahead. They can be revived after the run mechanic is over.
- The adds should be a priority during all the times that they appear as having two or more adds on the tank at once can prove problematic, especially if they get to enrage. During the execution phase, try to use single-target attacks on the adds to prevent damaging Arkasis and bringing him down to the threshold where he summons another add while the first is still alive.
Rewards
- Unidentified Stone Garden Armaments
- Undaunted Key
- +1 Skill Point
- Dye: Hazardous Chartreuse (Stonethorn Delver Achievement)
- Memento: Mostly Stable Juggling Potions (Stone Garden Conqueror Achievement)
- Pet: Energetic Dwarven Shock-Spider (Stonethorn Explorer Achievement)
- Title: Pinnacle of Evolution (Triple Checked Achievement)
- Title: True Genius (True Genius Achievement)
Trivia
- Dungeon Gallery
Information
- Location: Greymoor Cavern
- Suggested Level: Max
- Final Boss: Arkasis the Mad Alchemist
Achievements
- Big Bad Wolf
- Dig Deep
- Expeditious Experimenter
- Fulgurite Forger
- Maximum Tantrum
- Methodical Mixologist
- Old Fashioned
- Restrained the Hounds
- Safety First!
- Spore Stomper
- Still Needs Work
- Stone Garden Conqueror
- Stone Garden Challenger
- Stone Garden Vanquisher
- Stone Husk Slayer
- Stonethorn Delver
- Stonethorn Explorer
- Stonethorn Scout
- Sycophant Slayer
- Triple Checked
- True Genius
Quests
Stone Garden Map
Bosses
Set Drop
NPCs in the area
Notable Items
Lorebooks:
- Confused Correspondence from Fjurig
- Regarding Our Guests
- Scribbled Notes, Stone Garden
- Stone Garden Dissection Notes
- Stone Husk Dissection Log
- The Vitalizer Fluid Must Flow
Enemies

