Moongrave Fane is a 4-player Group Dungeon in The Elder Scrolls Online (ESO), located in the Tenmar Borderlands of Northern Elswyr. It is part of the Scalebreaker DLC. It features Normal and Veteran Modes. Players can use the Group & Activity Finder tool to easily find groups to tackle this dungeon with.
Deep within the ancient ruins of Moongrave Fane, a former member of the Dragonguard and his fellow vampires of the Hollowfang Clan have felled and captured a Dragon. However, they wish to do more than simply destroy the humbled beast, as the clan prepares a ritual to drain the Dragon of its blood and gain its terrible power!
Moongrave Fane Veteran Walkthrough & Strategies
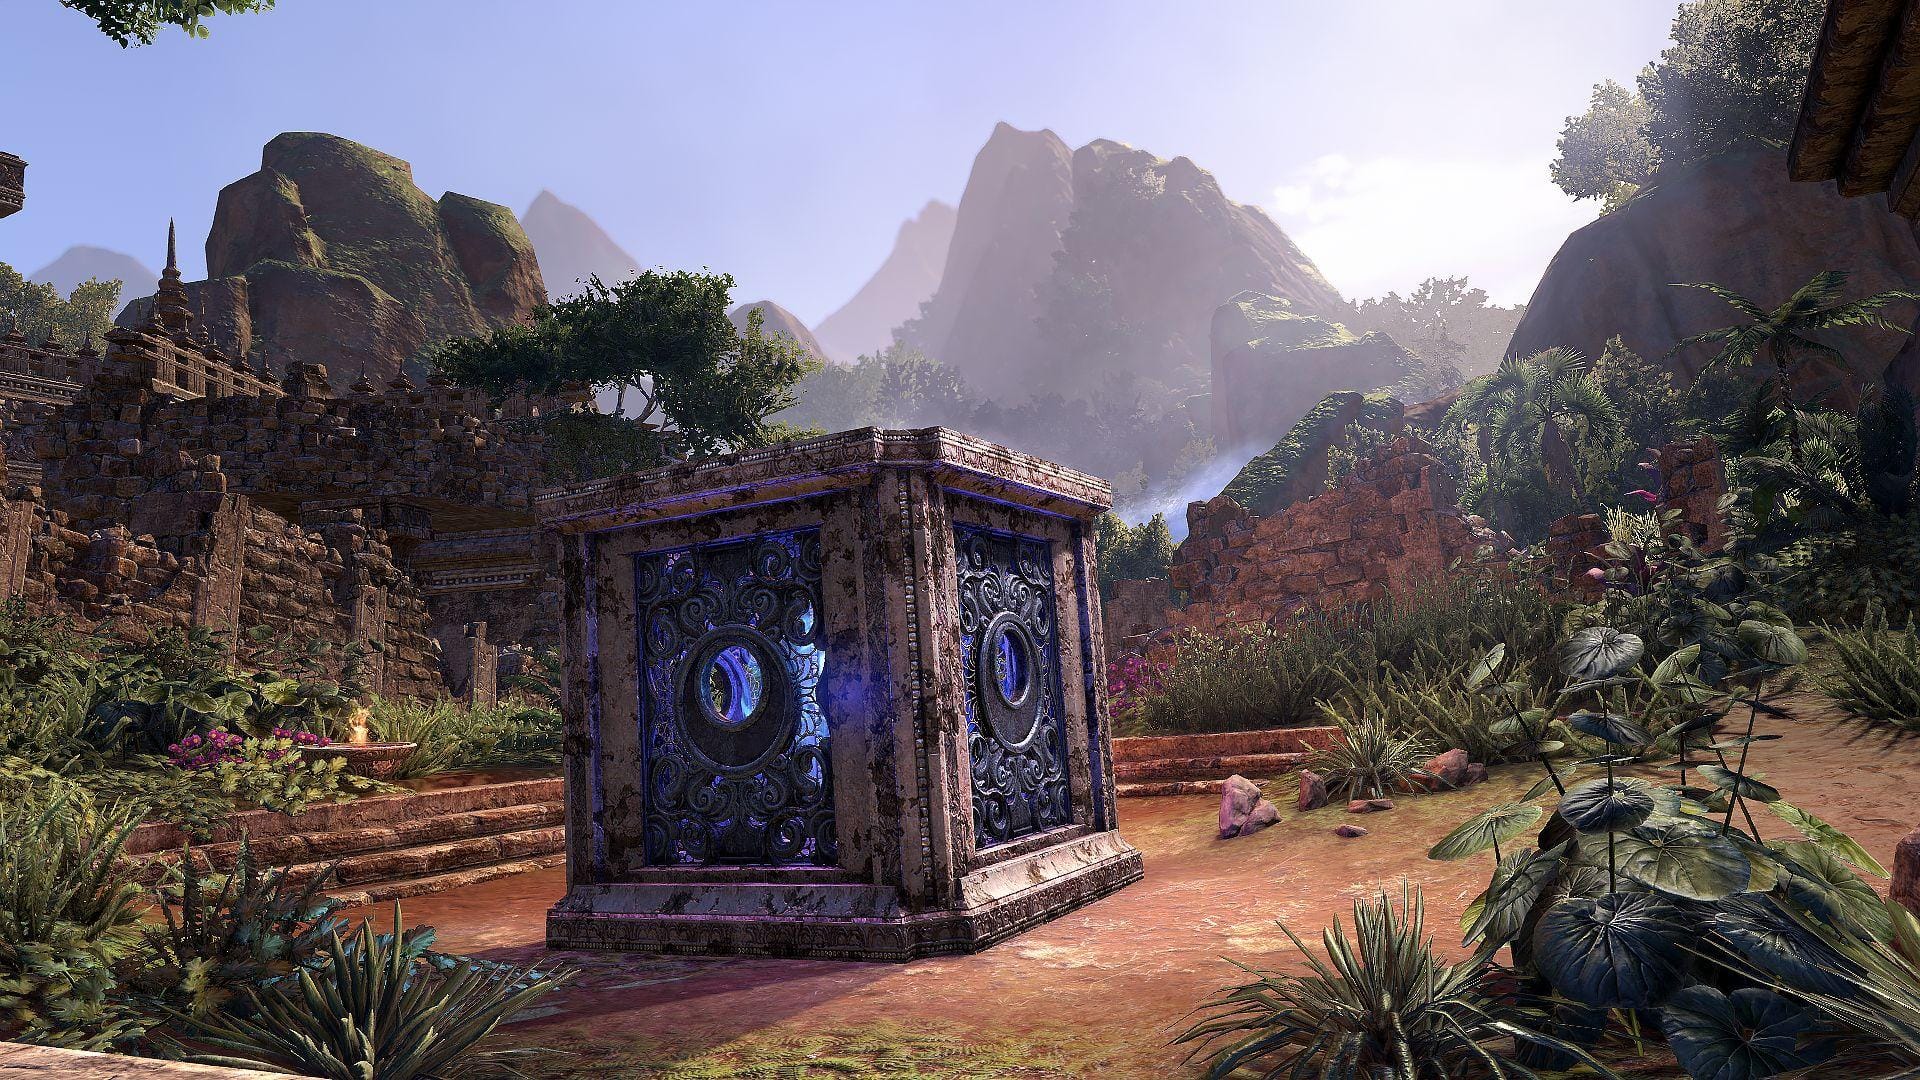
Moongrave Fane is a dungeon comprised of Ancient Khajiit ruins. The enemies consist of Khajiiti Vampires as well as various beasts. As a primarily vampire-inhabited dungeon, blood is a common theme throughout and there are two special mechanics that persist throughout the dungeon:
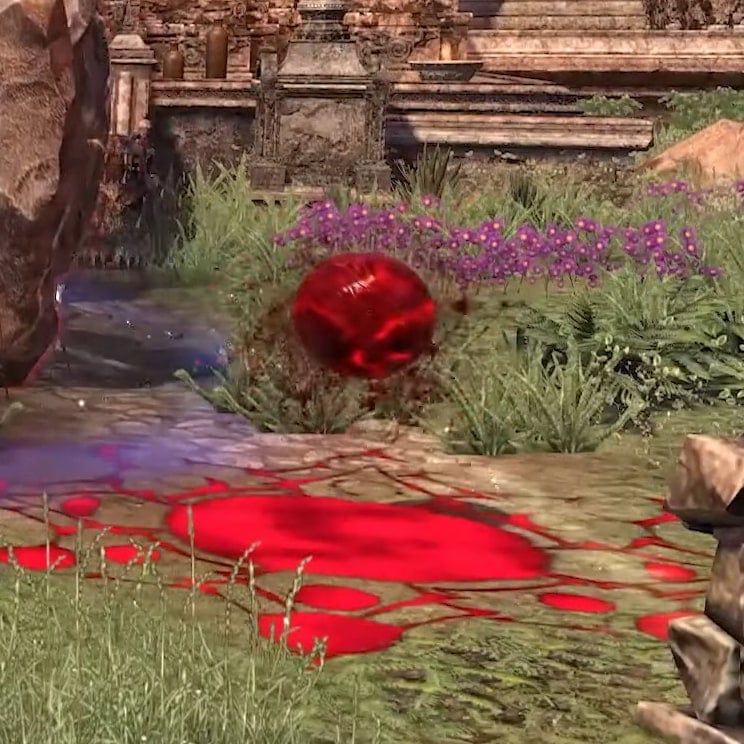
Hemo Helots are orbs of blood that have various uses throughout the dungeon. They can be summoned via the Sangiin Sacrifice synergy. You will come across several orange/yellow glyphs on the ground where you can activate the synergy either by luring and killing an enemy atop the sigil or sacrificing a portion of your health. You can launch these orbs by performing a Heavy Attack. Additionally, you can destroy them with normal attacks.
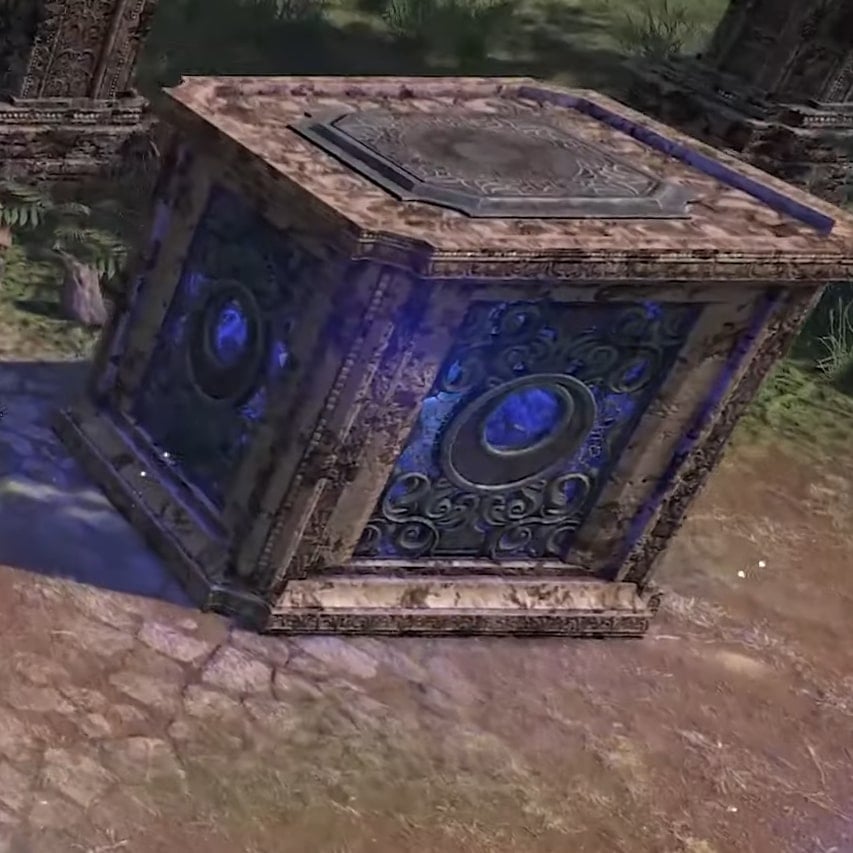
Sliding Stones are the cubical constructs found throughout the dungeon. They glow with a blue hue and can be moved around with basic attacks. These stones will need to be slid onto pressure plates in certain areas in order to unlock doors and proceed. They can easily get stuck in the terrain. However, there are circular pads in the immediate area that you can use like synergies to reset any stones that are stuck. Additionally, they can be used to block several AoE effects from enemies.
Both mechanics will come into play throughout the dungeon and will have specific uses in certain boss fights as well.
Suggested group composition for Moongrave Fane
- 1 Tank
- 2 DPS (Preferably 1 Stamina-based & 1 Magicka-based)
- 1 Healer
Objectives
- Quest: The Sanguine Successor - Prevent a clan of vampires from draining the blood of a captured dragon.
- Quest: Pledge: Moongrave Fane - Prove you are truly Undaunted by clearing Moongrave Fane
Moongrave Fane Boss Guide
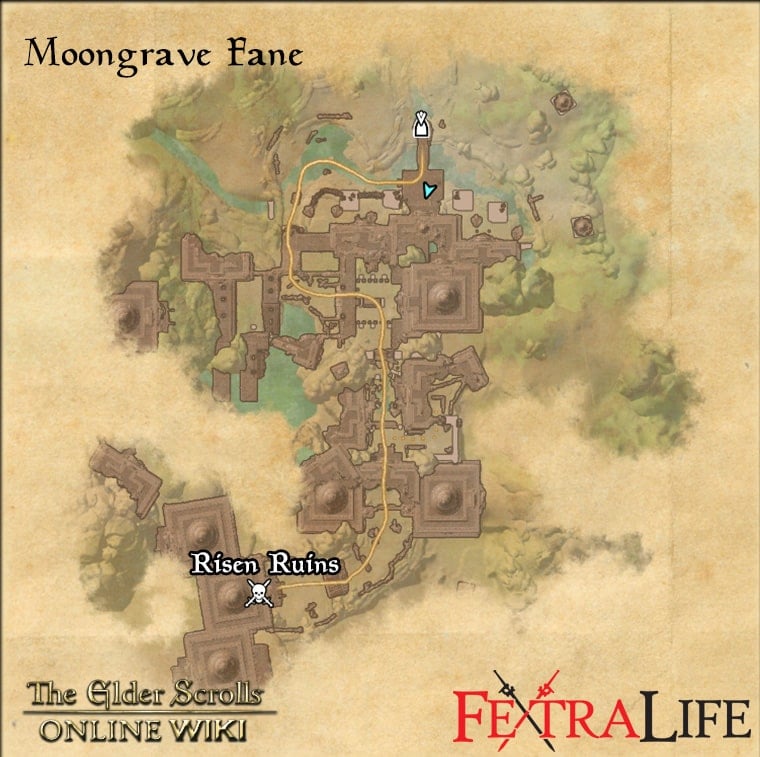
Risen Ruins
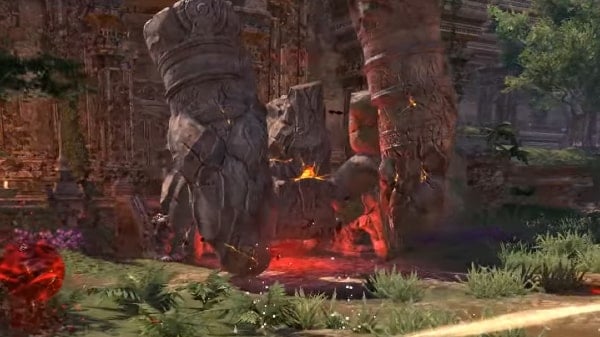
Risen Ruins is a giant Stone Atronach encountered as the first boss of Moongrave Fane. Its attacks consist of rock-based attacks, projectiles and charges. There are also plenty of adds that assist the boss during the encounter. The boss will be your first chance at using the Hemo Helot mechanic, take note of the two synergy sigils on either side of the boss.
HP: 2.97 M
Boss Mechanics:
- Light Attack - The boss tosses rocks at the player, dealing light damage.
- Ground Pound - The boss props its main body up on its legs and jackhammers the ground for several seconds, sending shock waves that reach far and deal the most damage closest to the boss.
- Boulder Shield - The boss curls into a sitting position, glows yellow and becomes invulnerable. It then proceeds to throw boulders at the group that deal heavy damage every second and knocks players down. This attack needs to be blocked while two players use the synergies to create Hemo Helots(Note that this can be done at any point of the fight), and launch two orbs at the boss to remove his shield.
- Dash - After becoming vulnerable again, the boss will charge across the area, significantly damaging or often killing anyone caught in his path. Avoid this attack at all costs.
- Adds - The boss will summon adds throughout the encounter including Hollowfang Vampires, Venom-teeth, Bloodbrewers and Skullguards. Some of them require interrupts, while some use a lot of AoEs.
Strategy:
- Before engaging the boss, your group should activate the two synergies for Hemo Helots so that you don't need to do it during his shielded phase. Note that activating the synergies will cost 50% of your health pool and this can become particularly dangerous if you need to activate them during the shield phase as a boulder thrown by the boss will most certainly kill you during the synergy. As such, consider pre-activating them outside of the shielded phases. The boulders should also be blocked or they will knock you down.
- After every shielded phase, the boss will charge straight ahead cutting across a large path where he is facing. Ensure that you are not caught in his charge as it will kill most players.
- During his ground pound attack, DPS should try to stay away from the epicenter and focus on adds if present while the healer makes sure the tank is topped up.
- The adds can quickly fill up the area and make the fight more chaotic. Take care not to get overwhelmed by thinning out the herd outside of the boss' shield phase.
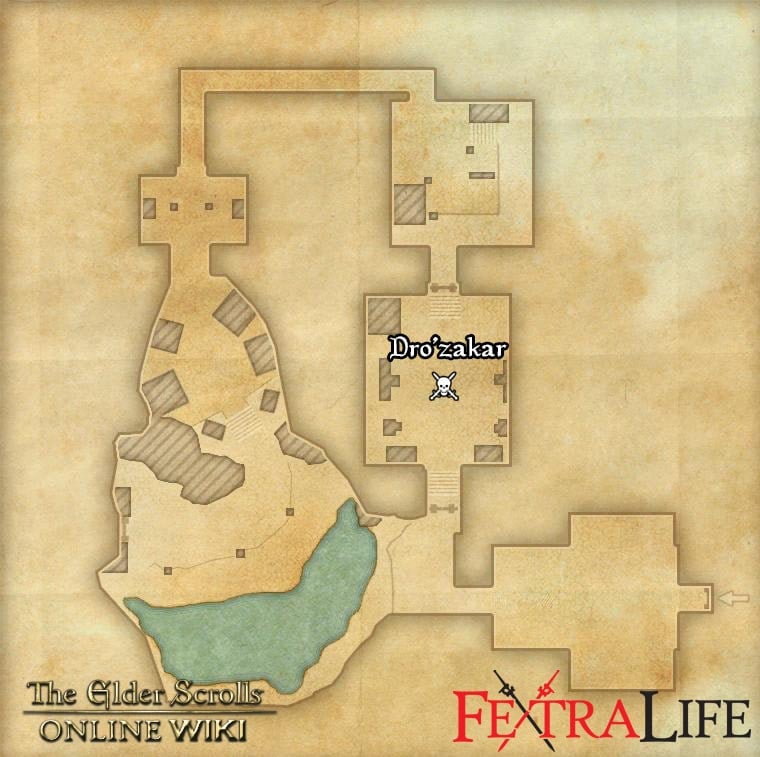
Dro'zakar
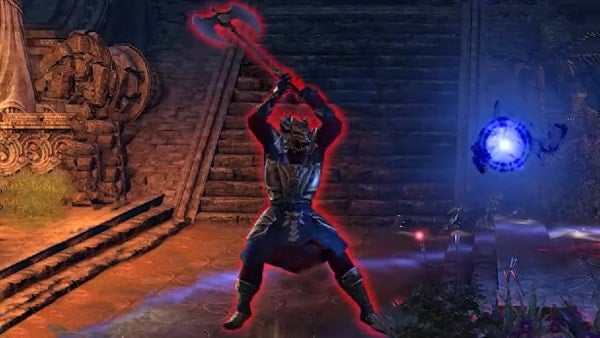
Dro'zakar is a Pahmar-raht Vampire member of the Hollowfang Clan and serves as the second boss of Moongrave Fane. He fights with a large battle axe and uses blood magic and skills. There are also several adds that spawn during the encounter, including a sacrificial add that will attempt to summon Hemo Helots from the synergy plates in the four corners of the room which the boss uses for one of his mechanics.
HP: 3.3 M
Boss Mechanics:
- Light Attack - Standard swing with his axe that does light to moderate damage.
- Heavy Attack - A large conal breath attack in front of the boss that deals a hefty amount of damage. This needs to be blocked or dodged.
- Health Drain - The boss drains a small amount of health from his target.
- Blood Shield - The boss raises his axe in the air and summons a shield of crystalized blood that circles him. Shortly after, the shield will deal AoE blasts in a small radius around each player's feet every second. The goal here is to destroy the shield to stop the attack. Take note that the AoEs will stack if players are close to each other.
- Blood Pool - The boss sinks into a pool of blood on the floor and follows whoever has aggro. The pool deals damage which heals the boss. The tank should block this to minimize the damage and health drain.
- Siphon Hemo Helot - Every so often, an add called Sacrificial Helot will run into the room and sacrifice themselves at one of the four synergy plates, summoning a Hemo Helot orb. The boss will then run into one of these orbs, draining them and becoming empowered. While empowered, the boss will deal tremendous amounts of damage to the party. Destroy the orbs with a Heavy Attack to prevent this. Note that more adds will spawn and activate more orbs as the fight draws on.
- Adds - Various Hollowfang adds will spawn throughout the fight. Take care with overlapping AoEs and effects.
Strategy:
- The tank should make sure that the boss is never facing the group as his heavy conal attack can devastate the healer and DPS.
- During his shield phase, your group should be positioned in a cross formation around the boss to eliminate AoE overlap. Take note that he will also form an AoE around his feet at medium radius which you may need to backpedal from. It's best to focus the shield down as fast as possible as every tick will ramp up in damage and your healer will have to work harder the longer the phase goes on.
- Be aware of adds entering the room and try to take them out to prevent overlapping mechanics.
- The Sacrificial Helots can actually be damaged on their way to summoning the orbs but this is not advised as they take longer to kill than simply leaving them to sacrifice themselves instantly and destroying the orbs yourself.
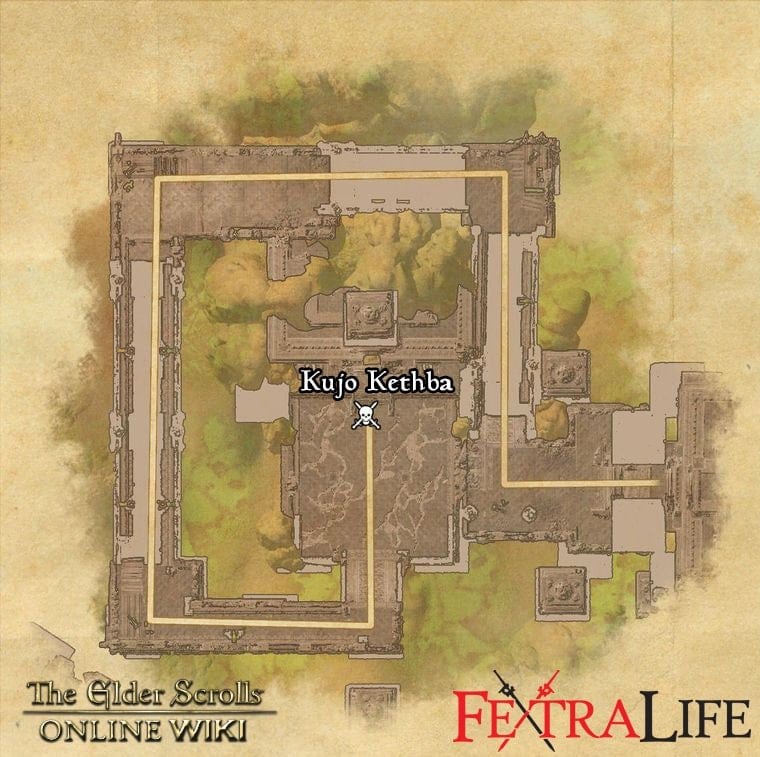
Kujo Kethba
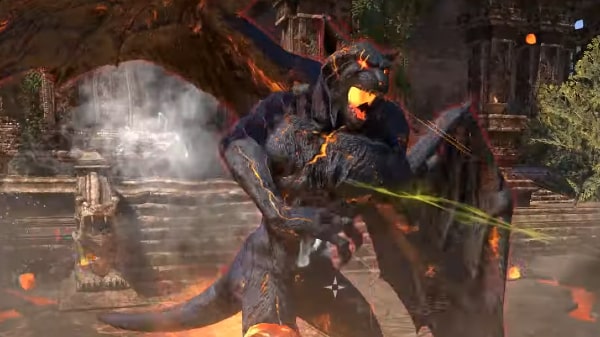
Kujo Kethba is a Khajiiti Gargoyle that serves as the third boss of Moongrave Fane. Kujo Kethba is encountered in a courtyard area where the floor is cracked in several places, exposing magma. On the sides of the courtyard are two Sliding Stones that come into play during one of the boss' mechanics. Take note that there are a large number of adds that can spawn during the encounter as well.
HP: 3.3 M
Boss Mechanics:
- Light Attack - Standard claw swipes that deal light to moderate damage.
- Heavy Attack - The boss rears up and charges an overhead smash with his left claw. This needs to be blocked.
- Cleaving Fire - The boss beats his wings one after the other, causing two large waves of fire that spread outward in two cones in front of him.
- Lava Smash - The boss leaps into the air and slams down then proceeds to pummel the ground with both fists. This causes two lava geysers to erupt on both sides of the room which continually spew molten rocks at the party. This is where the Sliding Blocks come into play. The blocks will need to be pushed onto the geysers in order to stop the attack. The longer the fight draws on, the more geysers will be active on each side so you may need to slide the blocks back and forth between geysers. The boss is also immune during this phase and will reflect any damage received back onto the group.
- Adds - There are plenty of adds spawning throughout the fight. Take note of the archer adds that do a large conal attack that covers a lot of ground.
Strategy:
- The tank should have the boss faced away from the group at all times and the DPS should pick a side to cover with the Sliding Stones while the healer stays in the middle to consistently throw out heals.
- During the Lava Smash phases, everyone should stop doing damage to prevent the boss' reflect from killing the group. Note that this phase will also end automatically after around 20 seconds but the boss is immune to damage while he's pummeling the ground and will also cause any damage to reflect back on the group so it's best to play the mechanic properly.
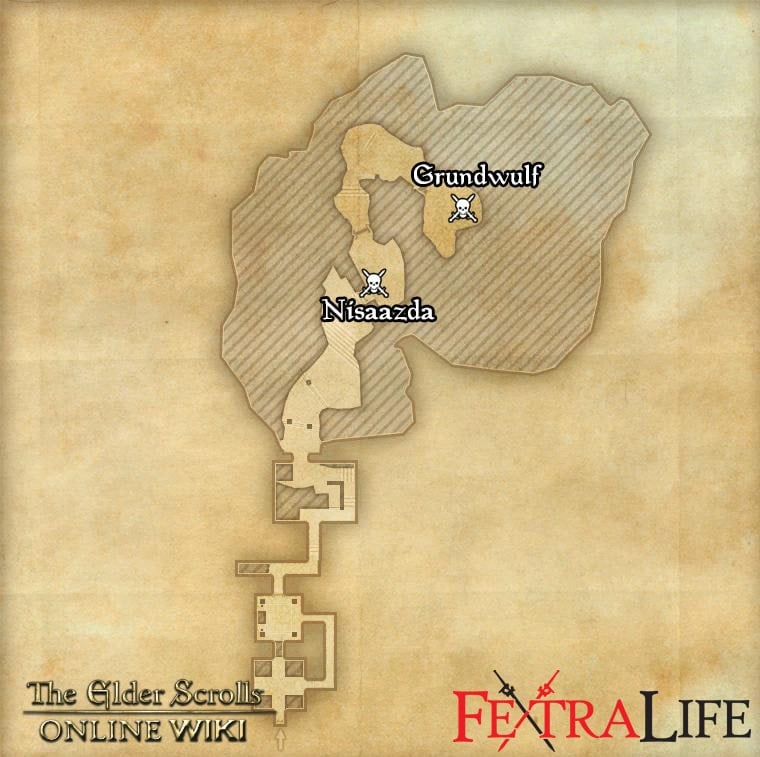
Nisaazda and Grundwulf
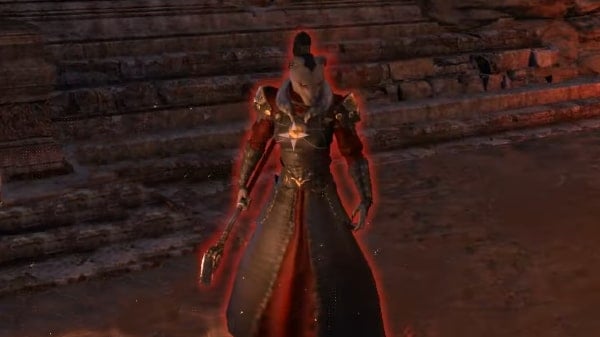
Nisaazda is the Clan Mother of the Hollowfang Clan and serves as the fourth boss fight of Moongrave Fane along with Grundwulf, the Dragonguard. She will primarily be attacking players from afar and summoning blood creatures while Grundwulf harasses players from melee range.
HP: 2.25 M for each boss
Boss Mechanics:
Grundwulf:
- Light Attack - Standard swing with his great sword that deals light to moderate damage.
- Heavy Attack - Grundwulf holds his sword to his right side and unleashes a wide swing that deals heavy damage. This needs to be blocked.
- Fus Ro Dah - Grundwulf uses this Dragonborn shout that travels in a long strip that stretches almost the entire length of the room in front of him, dealing huge damage and knocking down players caught in it. Easily dodged, but comes out rather quickly.
Nisaazda:
- Light Attack - Shoots blood missiles from her staff that deal light damage.
- Blood Barrage - Nisaazda channels a barrage of spells at a target, dealing continuous damage. This attack should be interrupted.
- Teleport - Nisaazda will frequently teleport to a far off location and follow-up with one of her other mechanics.
- Summon Sangiin's Thirst - Nisaazda begins channeling a spell that cannot be interrupted by normal means. You will need to hit her with the Hemo Helot from the synergy plate in the room. If she completes her summoning, a large Gargoyle called Sangiin's Thirst is summoned, which deals heavy attacks and cleaving AoEs.
- Blood Vortex - Nisaazda summons a large pool of swirling blood which deals massive damage per second to players caught in it. Additionally, it will empower all enemies within.
- Hemonculus Adds - Little ghost adds that spawn in periodically. These cannot be damaged until their blood shields are removed by the Hemo Helot.
Strategy:
- This fight involves a lot of movement as the primary target Nisaazda likes to teleport around the room. The tank needs to make sure they maintain taunt on Nisaazda when she teleports. Ideally, you want to tank both bosses together to cleave them down so pull Grundwulf close to Nisaazda as much as possible and keep him turned away from the group to prevent damage from his shout.
- Take special care in getting the bosses out of the blood vortex as soon as it spawns, as the empower buff it gives them can wipe the group in a short amount of time. Note that the vortex will also affect adds.
- Assign one person to be in charge of the Hemo Helot and have them keep a look out for Nisaazda's channeling. As the Helot hits in a wide cone where the attack is facing, it's easy enough to hit both Nisaazda and the Hemonculus adds if they are stacked properly. Avoid using the Helot on just the adds alone as Nisaazda's gargoyle summon is significantly more problematic and should be interrupted.
Grundwulf Empowered
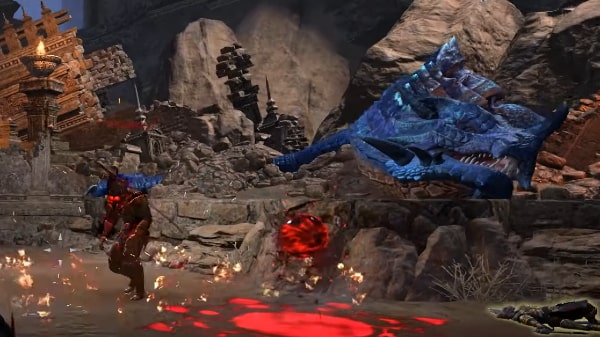
Grundwulf survives the previous encounter and retreats deeper into the ruins. The next time you see him, he will be next to a chained up dragon and performing a ritual to drain the dragon of its blood. This empowers him for the final encounter.
The first time you do this encounter in a given run, you will have to first defeat several waves of trash mobs while Grundwulf completes the ritual. These adds will comprise of Coagulants, several types of Hollow Fang Clan members, as well as Moongrave Sentinels. Note that if you wipe in the main boss fight, you will not have to repeat this add gauntlet. After defeating all adds, Grundwulf will move down into the main room floor. There will be a special Hemo orb to the left of the entrance that you can use to activate Hard Mode for the boss encounter.
HP: 5.87 M
Hard Mode HP: 15.28 M
Boss Mechanics:
- Light Attack - Standard swing with his great sword that deal light to moderate damage.
- Heavy Attack - Grundwulf holds his sword to his right side and unleashes a wide swing that deals heavy damage. This needs to be blocked.
- Fus Ro Dah - Grundwulf uses this Dragonborn shout that travels in a long strip that stretches almost the entire length of the room in front of him, dealing huge damage and knocking down players caught in it. Easily dodged, but comes out rather quickly. This version will also leave two blood circles along the path that spawn Hemonculi shortly after. The Hemonculi cannot be damaged until their bloodshield is removed.
- Dragon Bombardment - The dragon in the background attempts to attack Grundwulf by spitting a fireball at him that leaves a large AoE patch where it lands and then splitting into several more fireballs that each leave similar patches in a random location near the boss. Strangely, this doesn't seem to damage the boss but will damage players.
- Dragon Fire - Periodically, Grundwulf will teleport behind the Sliding Stone in the room. This signals that the dragon is about to breathe fire at him. The block needs to be pushed away in order for Grundwulf to get hit and weakened by the breath. Failing this mechanic causes the fire to spread around the room instead, dealing heavy damage to all players.
- Reposition - After the first dragon fire attack, the boss will periodically throw the block in the air to reposition it. If it lands on you, you die immediately so watch out.
- Blood Spikes - A dark red spike will jut out from the ground at a random location and shackle a random player. This applies a heal absorption debuff on the player, reducing the amount of healing they receive, while also dealing damage over time. The player will need to run to where the spike is and stay within the circle to complete the mechanic and remove the spike. This will also summon a Coagulant to attack the player.
- Dire-Maw - Periodically summoned to assist the boss. These adds deal a lot of heavy damage and need to be faced away from the group.
Boss Hard Mode Additional Mechanics:
Activating Hard Mode not only gives the boss more than double health, but also makes his attacks hit harder. In addition, the following mechanics are modified/added:
- Fus Ro Dah - Spawns three Hemonculi instead of two.
- Dragon Bombardment - The fireballs split into more fireballs.
- Sliding Stone - Attempting to move the stone outside of the Dragon Fire phase will inflict a debuff on players.
- Giant Bat - Grundwulf will periodically target a random player(aside from the tank) and summon a giant bat to follow them. This is signified by a mark on the player's feet. Do not let this bat touch you as it will instantly kill you. The bat cannot be damaged but will instantly be killed by a Hemo Helot splash.
- Hemo Helot - Using the Hemo Helot synergy will cause a Ravenous Hoarvor add to spawn that inflicts a nasty debuff on the player using the synergy, dealing heavy damage and only removable by healing to full.
- Blood Spikes - More spikes will appear as the fight goes on and you can eventually have all four players shackled.
Strategy:
- Tank the boss somewhat in the center while facing him away from the group and ensure the positioning is within good range of the Hemo Helot synergy. In general, it's a good idea to bring all adds near the boss for easy cleaving. This includes the Coagulants summoned by the Blood Spikes.
- When Grundwulf teleports behind the block, quickly hit it with a heavy attack to move it away. Do not use light attacks as it may not travel far enough and you can only hit the block once during this phase.
- For Hard Mode, you want to hold off on hitting the Hemonculi with the Hemo Helot until Grundwulf summons the Giant Bat. Once he does, the player affected should kite the bat in circles around the tank, while another player gets ready to use the Hemo on all the adds. This will kill the bat instantly and remove the Hemonculi shields.
- The healer should watch out for when the Hemo Helot is used and heal the player to full immediately to remove the debuff from the Hoarvor.
Rewards
- Unidentified Moongrave Armaments
- Undaunted Key
- +1 Skill Point
- Dye: Hollowfang Cruor (Scalebreaker Delver Achievement)
- Furnishing: Bust: Grundwulf (Moongrave Fane Conqueror Achievement)
- Furnishing: Behold Khunzar-ri's Guile (Scalebreaker Scout Achievement)
- Furnishing: Trophy: Grundwulf (Moongrave Fane Vanquisher Achievement)
- Outfit Style: Dread-Aurelian Mask (Scalebreaker Explorer Achievement)
- Outfit Style: Dread-Aurelian Pauldrons (Scalebreaker Delver Achievement)
- Pet: Undaunted Porter Scamp (Moongrave Fane Conqueror Achievement)
- Title: Chevalier (Moongrave Fane Challenger Achievement)
- Title: Hollowfang Exsanguinator (Drunk on Power Achievement)
Trivia
- Dungeon Gallery
Moongrave Fane Information
- Location: Tenmar Borderlands, Northern Elsweyr
- Suggested Level:
- Final Boss: Grundwulf
Achievements
- Bloodless Kill
- Bloody Kill
- Blood Rush
- Blood Striker
- Cubed
- Defanged the Devourer
- Drop the Block
- Drunk on Power
- Escape the Grave
- Failed Transfusion
- Hollowfang Clan Slayer
- Hollowfang Dire-Maw Slayer
- Moongrave Fane Challenger
- Moongrave Fane Conqueror
- Moongrave Fane Vanquisher
- Moongrave Style Master
- Quench the Thirst
- Scalebreaker Delver
- Scalebreaker Explorer
- Scalebreaker Scout
- Shared Experience
Quests
Moongrave Fane Map
Bosses
Set Drop
NPCs in the area
Notable Items
Lorebooks:
Enemies

I wish one of these vampire dungeons dropped some vampire gear...
3
+11
-1