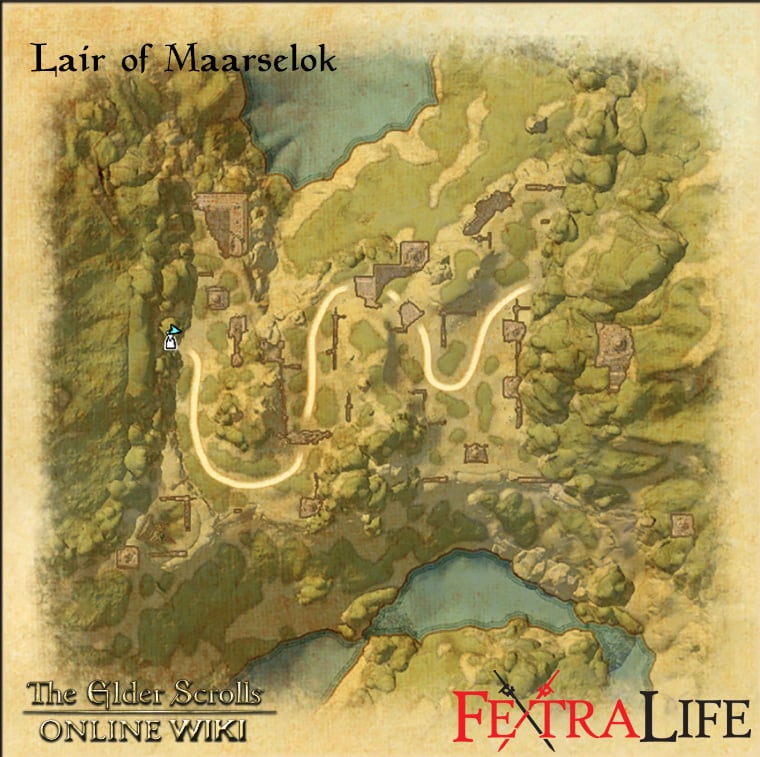
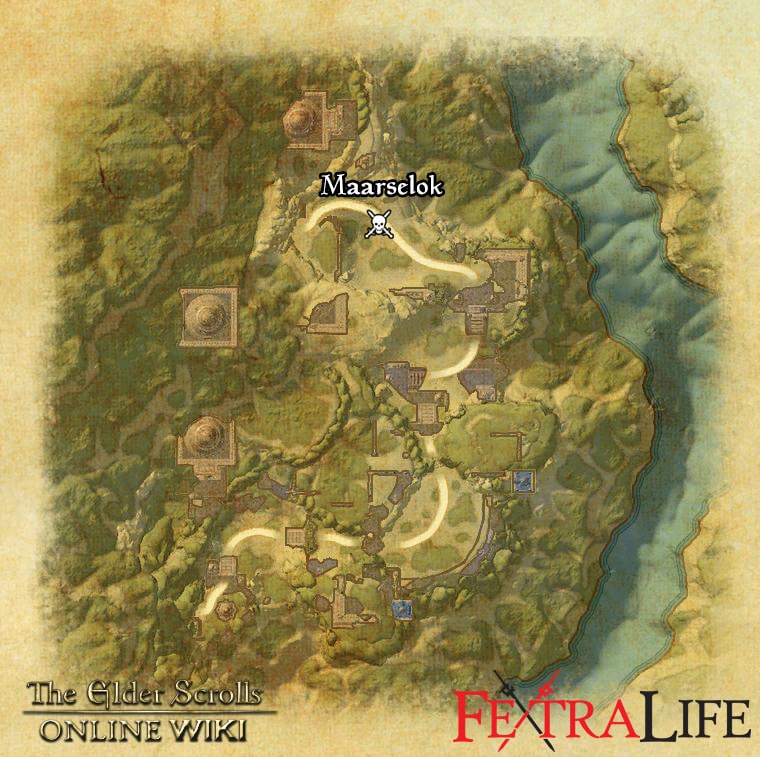
Lair of Maarselok is a 4-player Group Dungeon in The Elder Scrolls Online (ESO), located in the Green Hall in Grahtwood. It is part of the Scalebreaker DLC. It features Normal and Veteran Modes. Players can use the Group & Activity Finder tool to easily find groups to tackle this dungeon with.
Neighboring Elsweyr, Grahtwood’s Elden Root tree is threatened by a deathly corruption that originates from the nearby jungles of Tenmar and the Lair of Maarselok. Grahtwood’s protectors have tried and failed to destroy the Dragon at the center of the blight, so a truce has been called between the forest spirit Selene and her captor, the warlock Carindon. Together, and with your help, they must attempt to save the Elden Root tree before the corruption can spread.
Lair of Maarselok Veteran Walkthrough & Strategies
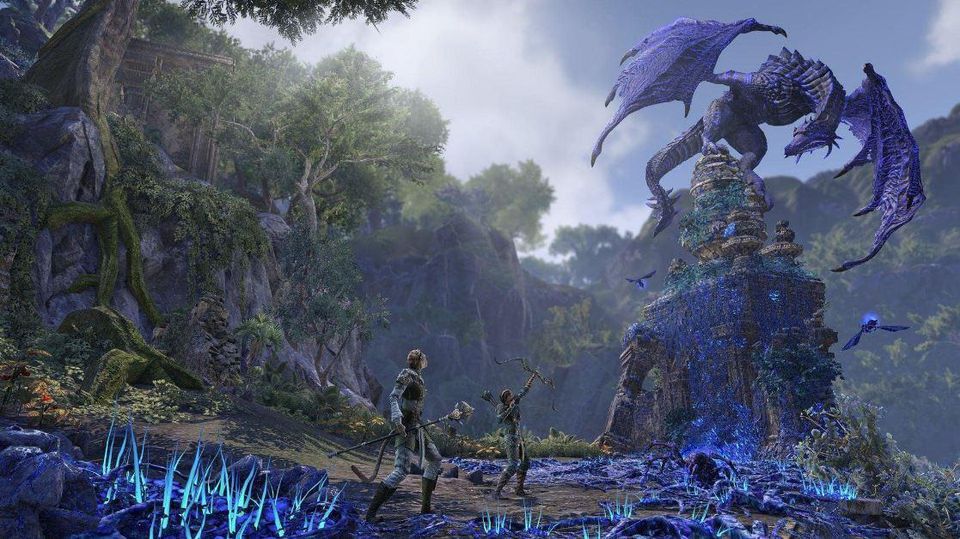
Dungeon description
Suggested group composition for Lair of Maarselok
- 1 Tank
- 2 or 3 DPS
- 1 Healer (Recommended if playing Hard Mode encounters)
Objectives
- Quest: The Azure Blight - Take down an awakened dragon to stop the spread of an unnatural blight
- Quest: Pledge: Lair of Maarselok - Prove you are truly Undaunted by clearing Lair of Maarselok
Lair of Maarselok Boss Guide
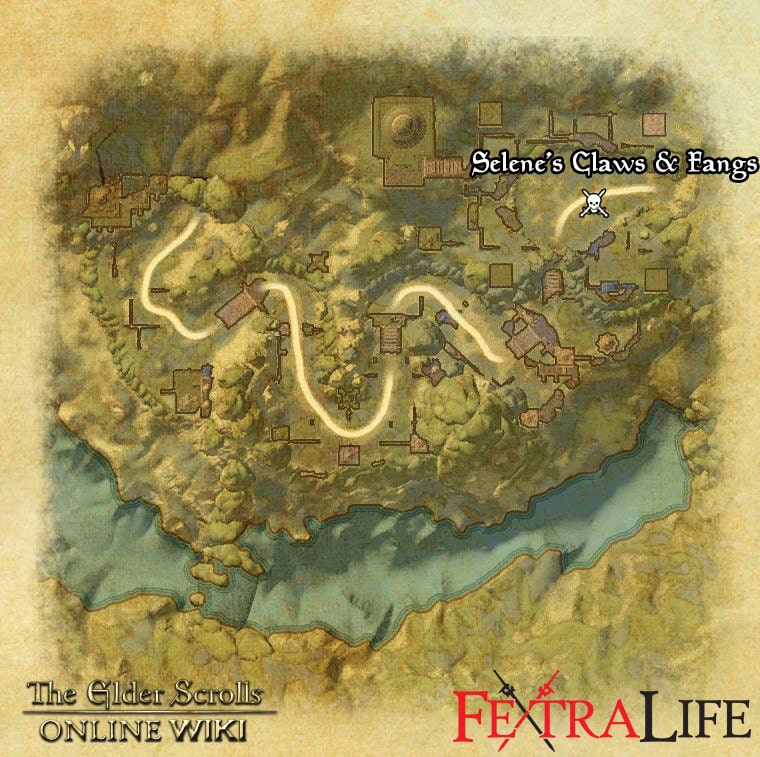
Selene
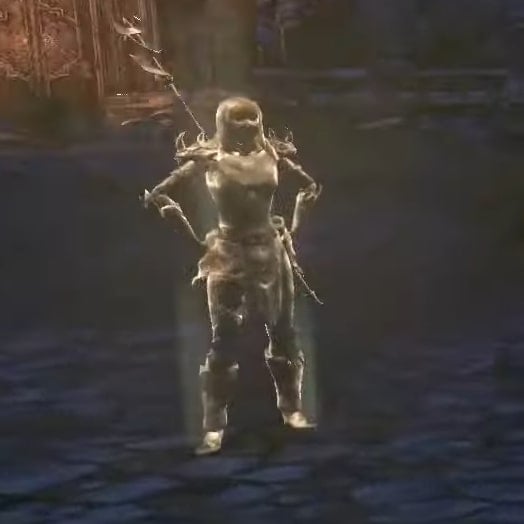
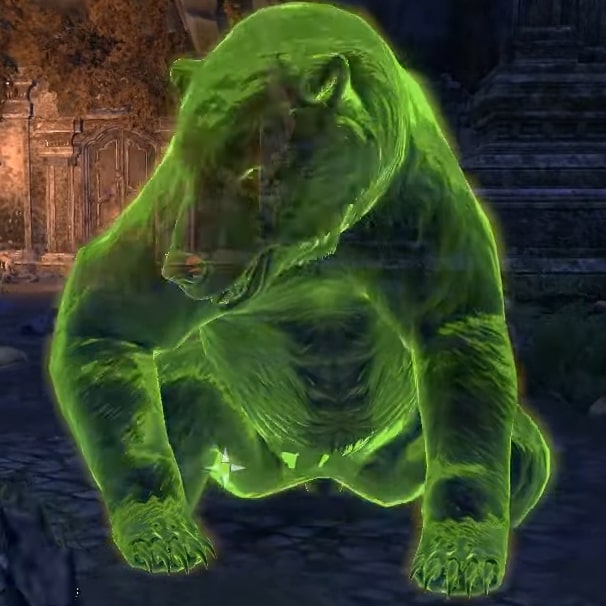
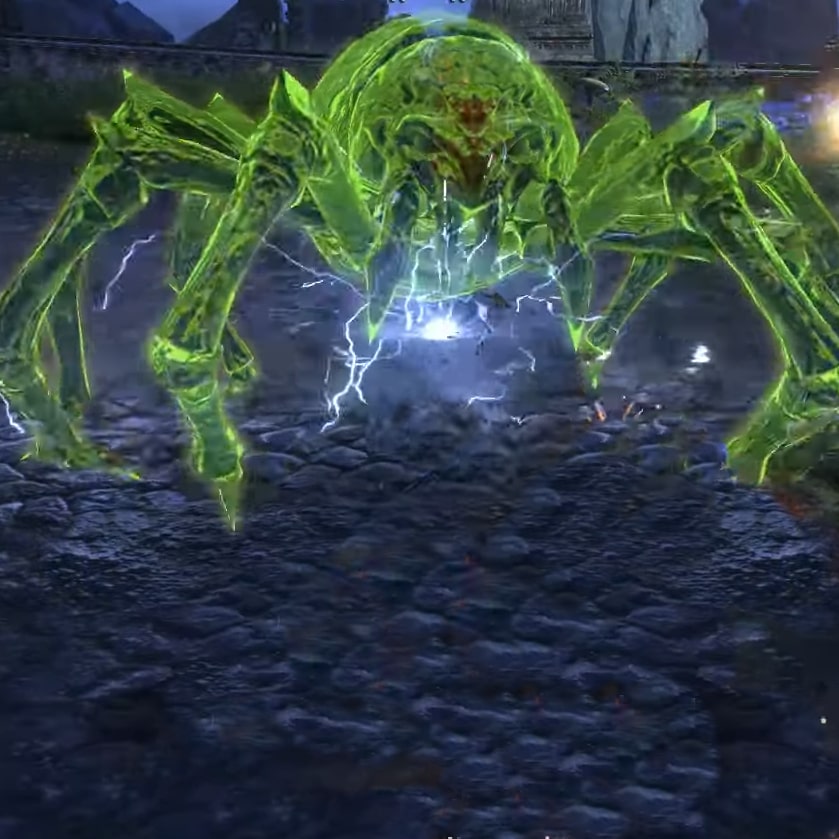
Selene serves as the first encounter of Lair of Maarselok. However, you will not actually be fighting her, but rather her Spirit Bear (Selene's Claws) & Spider (Selene's Fangs). Selene will still throw attacks your way that you will need to deal with accordingly.
HP: 2.97 M (Claws) & 2.49 M (Fangs)
Boss Mechanics & Strategy:
Selene:
- Teleport - Selene likes to reposition around the room but all it really does is cause you to look out for her new position. However, she likes to follow-up teleports with one of her two attacks.
- Poison Barrage - Selene will repeatedly throw poison balls at each player which deal heavy damage. This attack needs to be interrupted.
- Poison Cone - Selene will target a player at random and release a cloud of poison in a large cone towards the player. Because this attack covers a lot of ground, it's best for the targeted player to move the attack away from the group and block.
- Selene's Claws - Selene begins the fight by summoning this large bear. Have the tank face it away from the group to prevent cleave damage. Be sure to block its heavy attacks and watch out for the ground smash where the bear gets up on its hindlegs and smashes the ground causing rock spikes to jut out from under each player. This attack will hit in a small radius around each player and knock them away. Either block or dodge this and try not to be stacked on top of each other.
- Selene's Fangs - Once the bear is dead, this spider will come down from above. The tank should pull it immediately as it can one hit non-tanks. The spider will periodically summon spiderlings that aren't too problematic, but don't get overwhelemed. Once the spider is dead, the fight is over.
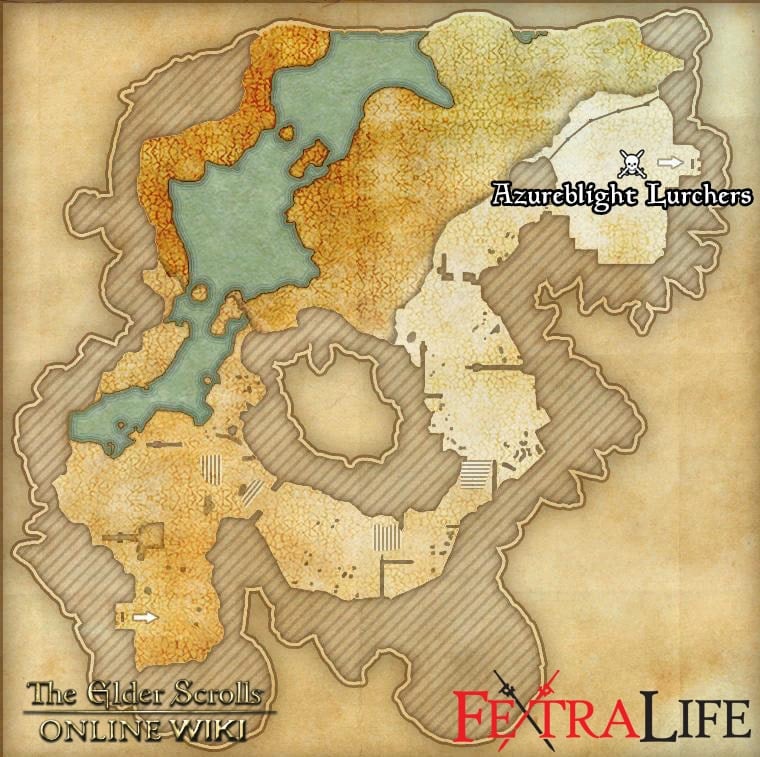
Azureblight Lurcher
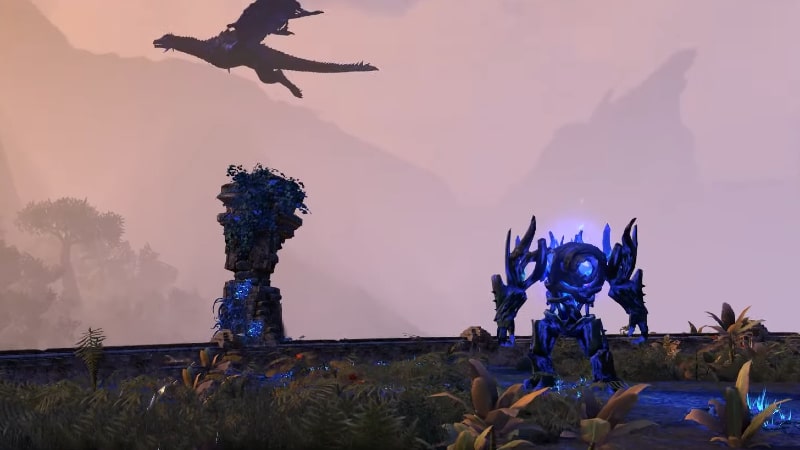
This fight is technically part of the first encounter with Maarselok, as defeating this boss will damage Maarselok himself. Note that this boss has the same name as regular Azureblight Lurchers found throughout the dungeon, but this guide specifically focuses on the Lurcher found in the Ruins of Dawn's Tabernacle area where Maarselok can be seen flying in the sky above.
HP: 2.46 M x 3
Boss Mechanics & Strategy:
- Triple Health Bar - The boss' health will need to be taken down a total of three times to complete the encounter. After his health is depleted the first and second time, he will enter a recharging phase where he is immune and a lot of adds are summoned. Depleting his health bar damages Maarselok for 10% of his HP each time, ending the encounter when he hits 70%.
- Heavy Attack - A charged backhand swipe that deals heavy damage. This attack should be blocked by the tank.
- Azureblight - The boss plunges his fist into the ground, creating medium-sized AoEs all around the area. These will drain the resources of players caught within. Simply get out of the circle as soon as possible.
- Dragon Fire - Maarselok will periodically blanket a section of the fight area with fire, dealing heavy damage to players and empowering the Lurcher if caught in it.
- Adds - During its recharge phases, the boss will summon many adds to attack players including Azureblight Imps, Spriggans and Skeletal Wolves. Some of these will need to be interrupted and the tank should try to maintain control, taunting and pulling any ranged adds as necessary while the group cleaves them down with AoEs. After the first recharge phase, the boss will summon adds regularly.
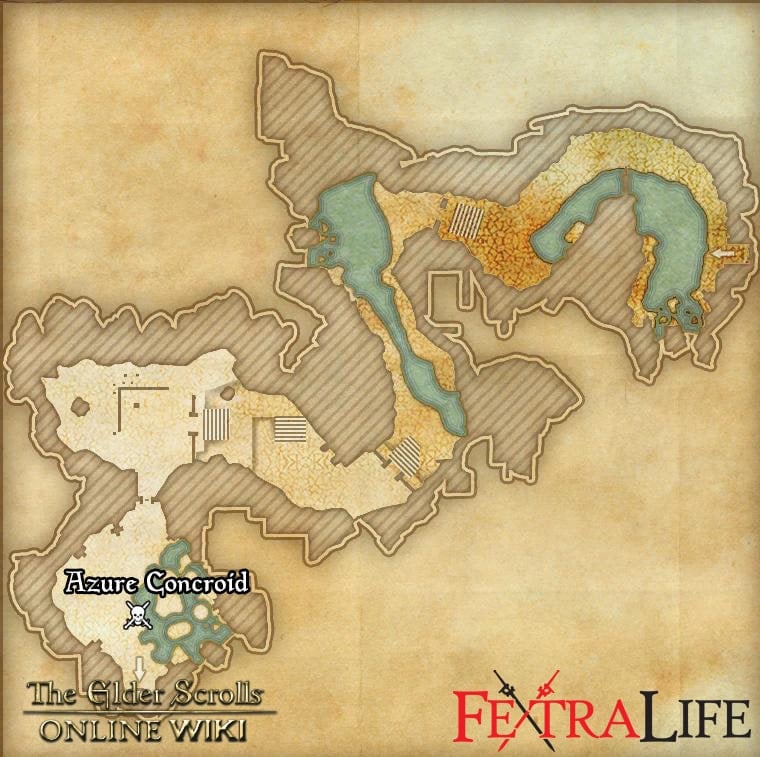
Azureblight Cancroid
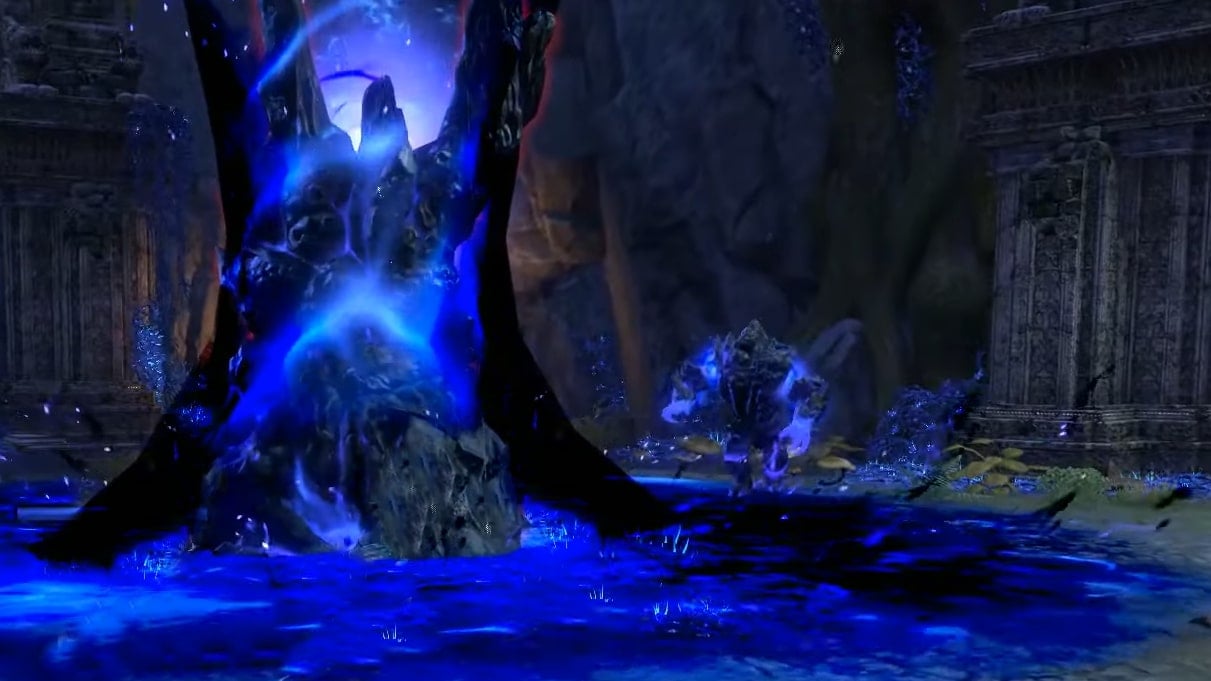
This encounter involves destroying the Azureblight Cancroid tree in the room, surrounded by a pool of azureblight energy. Your goal is to defeat the Infestors roaming around and pick up the seed they drop. Selene will cleanse the seed allowing it to dispel the blight temporarily.
HP: 3 M (Cancroid); 1.5M (Infestors)
Boss Mechanics & Strategy:
- Azureblight Infestor - There will be one roaming around the room when you enter. Engaging it begins the encounter. After defeating one and picking up the seed, another Infestor will enter the room immediately and the tank needs to make sure they pick up the new add before they get a chance to attack the group.
- Light Attack - A backhanded smash that deals light to moderate damage.
- Heavy Attack - A powerful overhead smash that deals devastating damage if unblocked. The Infestors like to heavy attack as soon as they enter the room so the tank should grab them immediately.
- Stomp - The Infestor will periodically stomp the ground and leave a large circle of blight around the impact zone. This blight deals heavy damage over time and the tank needs to move the Infestor out of it immediately.
- Cone Attack - The Infestor will hold its fists in front of it and charge up an attack that sends a wave of azureblight energy outwards in a large cone in front of it. The tank needs to block or dodge this and make sure they face the Infestors away from the group at all times.
- Seed - The Infestor will drop a seed upon death, which Selene cleanses. This needs to be picked up by anyone other than the tank and quickly brought over to the Cancroid. Note that carrying the seed will lower a player's resistances so take care not to be around any adds.
- Azureblight Cancroid - Invulnerable until the blight around it is dispelled. Will repeatedly shoot azureblight bolts at the team, dealing damage in a small radius.
- Blight Barrier - Deals heavy damage and slows players within the effect.
- Vulnerable Phase - The damage dealers should burn the boss down as soon as its blight barrier is dispelled. It will put the barrier back up after around 20 seconds. The tank needs to remain on the Infestors even during this phase.
- Azureblight Stranglers - These spawn after the first Vulnerable Phase and deal heavy amounts of damage. The DPS should always refocus on these adds whenever they spawn, even during the Cancroid's Vulnerable Phase.
Maarselok
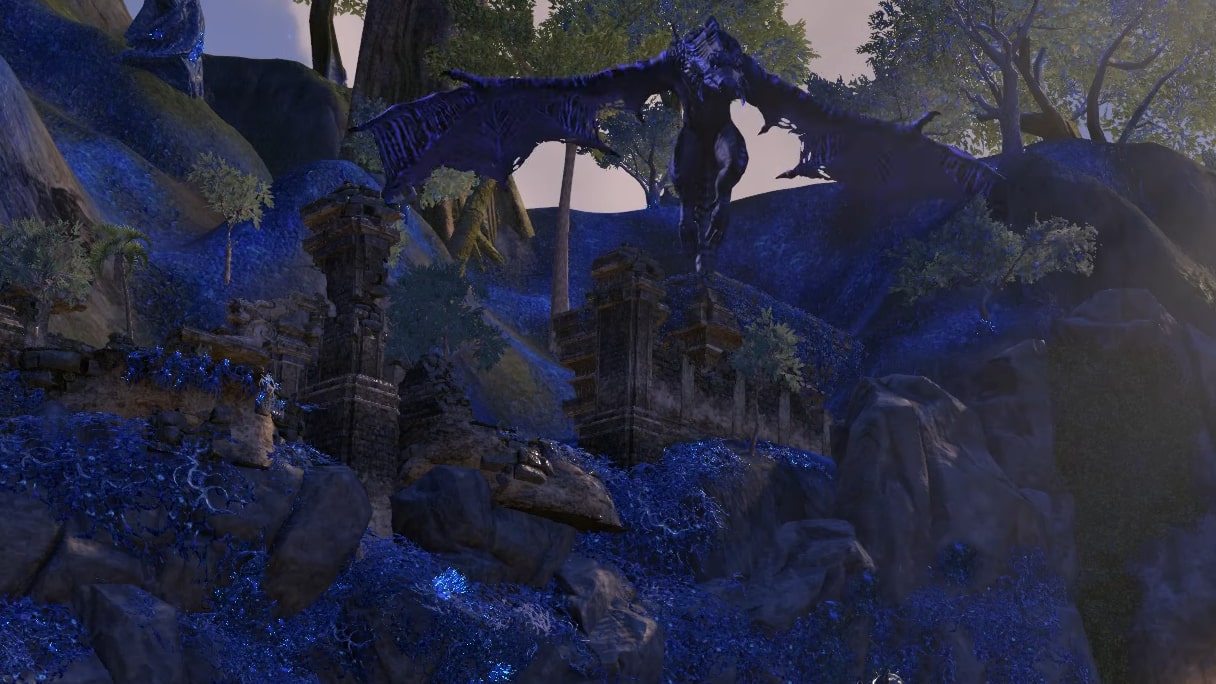
This will be the first encounter with the group attacking Maarselok directly. For most of the fight, he will be perched atop some ruins in the hills around the area and constantly raining fire below, as well as using Dragon Voice attacks. In order to get him down, Selene will be summoning small spiders to disorient him and your task is to protect her and the spiders.
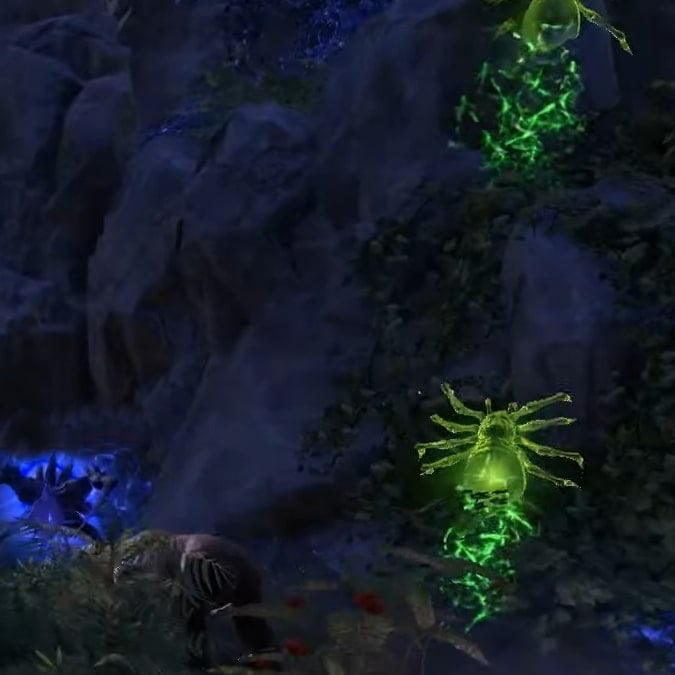
HP: 25.08 M (Note that you only need to get Maarselok down to 50% HP to complete the encounter)
Boss Attacks & Mechanics:
- Maarselok - He cannot be attacked while perched and will constantly bombard the group with attacks.
- Dragon Fire - Breathes fire onto the ground which comes in as dozens of blue flame orbs that deal damage in a medium radius. Keep moving to avoid these.
- Unrelenting Force - Maarselok shouts "Fus Ro Dah!" and flings the targeted player across the battlefield. The target should see a similar effect to Heavy Attacks emanating from them. Block to prevent getting thrown. The attack is also telegraphed by in-game text.
- Vulnerable Phase - After enough spiders have made it to Maarselok's perch, he will become incapacitated and come crashing down on the battlefield. He will not attack during this phase and the team simply needs to do as much damage to him as possible during this window. He will get up again shortly and once again fly up to a perch in a different location. Once he reaches 50% Health, the battle is over.
- Adds - During most of the battle while Maarselok is perched, the group will be facing hordes of adds, three of which are tied to the mechanics that bring Maarselok to the ground:
- Azureblight Hoarvor - These will usually spawn on the far side of the battlefield and slowly crawl towards Selene. If they reach her, they explode, stunning Selene and preventing her from summoning her spiderlings. Simply approaching one will cause them to explode and they don't need to be attacked.
- Azureblight Stranglers - These will spawn in massive numbers near the wall where Selene's spiderlings are crawling towards Maarselok. They will attempt to kill the spiderlings and the group will need to dispose of them quickly. They will be in a sort of whack-a-mole formation and the damage dealers should use a lot of AoE skills to cleave them down.
- Azureblight Lurcher - These spawn after each of Maarselok's Vulnerability Phases. They have the same mechanic as previous non-boss Lurchers found throughout the dungeon. While technically unimportant, ignoring them can have your group dealing with two or more during the add phases so it's best to just kill them off when they spawn.
- The rest of the adds are inconsequential and can simply be pulled by the tank into the Stranglers for AoE cleaves.
Strategy:
- The fight will pretty much follow the same flow throughout:
- Protect Selene
- Kill Stranglers
- Beat Down Maarselok
- Pick up Lurcher and repeat
- Assign one person, preferably the Healer on Hoarvor duty. They just need to stand near Selene and pop the Hoarvors as they come. From this position, they can easily throw out heals to the group.
- The DPS should be focused on avoiding the dragon fire and killing the stranglers, nothing else. Bring many as many AoEs and cleave effects as you can and unleash ultimates on the Stranglers.
- The Tank should be roaming around the battlefield, picking up stray adds and Lurchers, bringing them into the DPS' killzone. During the Vulnerable Phase, bring any stray adds towards Maarselok.
- Remember to block the Fus Ro Dah.
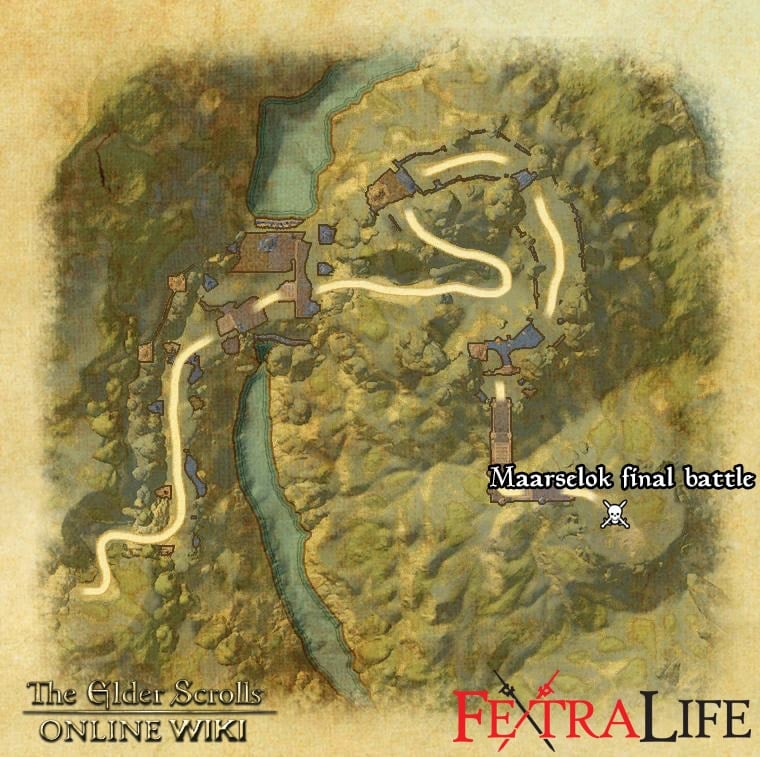
Maarselok Final Battle
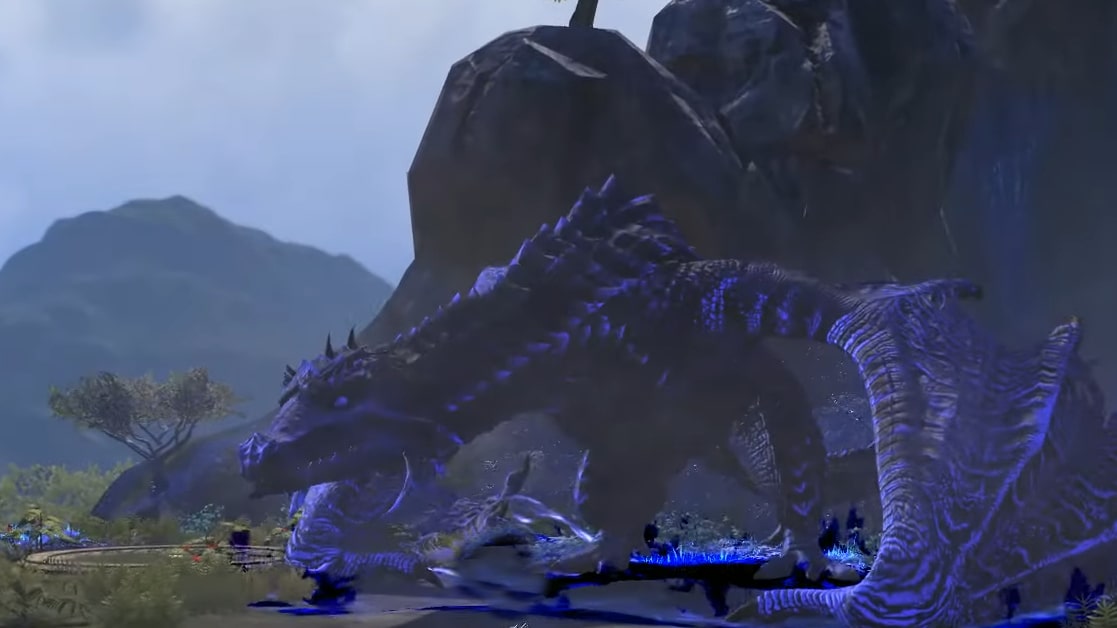
The final encounter with Maarselok will see the group put an end to his threat once and for all. Near the entrance to his roost is an Azureblight Seed which can be interacted with to activate the Hard Mode for this encounter.
This battle will have a cleanse mechanic that will differ greatly between the Regular encounter and Hard Mode. In Hard Mode, Selene will become corrupted by the blight and will fight against you instead of with you.
HP: 12.5 M
Hard Mode HP: 17.5 M
Boss Mechanics:
- Head Smash - Maarselok swings his head in a wide arch in front of him, dealing moderate damage and knocking players back. This attack should be blocked.
- Wing Smash - Maarselok will smash his wings down if any players are standing too close to them. This deals heavy damage and knocks players down. Avoid standing all the way to his sides.
- Unrelenting Force - Maarselok shouts Fus Ro Dah at the tank, flinging them across the battlefield. Block to prevent the knockback.
- Sweeping Breath - Maarselok will breathe fire across the room from side to side. This should be dodge rolled. It can be blocked but will leave a DoT effect on you.
- Meteor Shower - Maarselok will breath fireballs into the sky, these will land randomly on the battlefield leaving AoE patches on the ground. Two of these meteors will produce massive AoEs that will persist for quite a while.
- Charge - Maarselok will follow up his Meteor Showers by dashing across the room towards the the direction of the tank and repositioning there. The tank should position this properly so as not to leave Maarselok in an awkward location. The tank should also block the charge while the rest of party gets out to his sides or they will die.
- Scourge Seed - Every so often, Maarselok will infect a player with the Azureblight. This is telegraphed by the in-game text "The Azureblight is claiming a host!" Shortly after, Selene will set green wards on the three circular pads around the area and expose the infected. One player will glow with a dark blue energy and will need to synergize on one of the pads to cleanse the corruption. Failing this mechanic will spawn a Lurcher that the group has to deal with.
- Adds - There will be plenty of adds spawning throughout including Azureblight Wyrms, Stranglers and even Lurchers. Make sure these don't overwhelm you and that your group takes time to thin out the herd.
Boss Hard Mode Additional Mechanics:
- Selene - Selene is turned hostile during Hard Mode and will use her Poison Barrage from the first fight on the group. This attack needs to be interrupted or it will devastate the group. She will also become attackable periodically and this is a key mechanic to cleansing the scourge. Depleting her health will incapacitate her, allowing you to use the cleanse synergies.
- Scourge Seed - When Maarselok telegraphs the corruption, he will also drop a glowing blue seed on the ground. Everyone except the tank should run over to the seed and activate the synergy. This will allow them to see which pad is active for cleansing. However, only one of the pads is the real deal.
- Before the fight, communicate with your group to assign a call-out for each pad(e.g., 1 for the left, 2 for the one in the back and 3 for the one on the right).
- After synergizing with the seed, each player needs to call out which pad they see glowing. This can play out one of two ways:
- Majority Vote: Two players get the same pad while one player gets a different pad. This means the player with the different pad is the infected and needs to run into the pad called by the majority.
- One pad for all three: This means that the tank is infected and needs to run into the pad called out by the other players.
- You can fail this mechanic by synergizing with the wrong pad or taking too long and letting the corruption take hold. Either scenario kills the infected person immediately and summons a Lurcher.
- Cleansing Burst - In Hard Mode, cleansing the corruption will cause several AoEs to shoot out from the player. These will do moderate damage and stun on hit but are easily side stepped.
- Death - Dying in Hard Mode will cause roots to entrap the player's corpse, preventing any resurrection until the roots are destroyed.
Strategy:
- The boss should be tanked at an angle to his side, but not where his wings are. The rest of the party should be on the opposite side, again avoiding the wings. This will eliminate any chance of Unrelenting Force from hitting the rest of the group.
- When he performs unrelenting force, the tank needs to make sure it doesn't hit anyone else in the party. If you've followed the positioning above, you only need to stand still and block.
- Whenever he charges, everyone but the tank should get away. This is telegraphed by Maarselok briefly standing on his hind legs and the group should have plenty of time to move out. He also only charges after the meteor shower.
- The Scourge Seed mechanic should be simple enough on regular veteran mode. Simply look out for a blue aura when Selene exposes the infected and cleanse accordingly.
- For Hard Mode, the healer should remain near Selene at all times and ready to interrupt her Poison Barrage. They should also call out when Selene becomes attackable.
- Aside from that, the battle will pretty much rinse a repeat from here. Maarselok has a lot of health but avoid trying to burn him down and instead thin out the adds, be patient and play out the mechanics.
Rewards
- Unidentified Lair of Maarselok Armaments
- Undaunted Key
- +1 Skill Point
- Dye: Hollowfang Cruor (Scalebreaker Delver Achievement)
- Furnishing: Bust: Maarselok (Lair of Maarselok Conqueror Achievement)
- Furnishing: Behold Khunzar-ri's Guile (Scalebreaker Scout Achievement)
- Furnishing: Trophy: Maarselok (Lair of Maarselok Vanquisher Achievement)
- Memento: Corruption of Maarselok (Lair of Maarselok Conqueror Achievement)
- Outfit Style: Dread-Aurelian Mask (Scalebreaker Explorer Achievement)
- Outfit Style: Dread-Aurelian Pauldrons (Scalebreaker Delver Achievement)
- Title: Guardian of the Green (Lair of Maarselok Challenger Achievement)
- Title: Z'en's Redeemer (Selene's Savior Achievement)
Trivia
- Dungeon Gallery
Lair of Maarselok Information
- Location: Green Hall, Grahtwood
- Suggested Level:
- Final Boss: Maarselok
Achievements
- Azureblight Construct Slayer
- Azureblight Infected Slayer
- Blue Thumbed Botanist
- Crop Rotation
- Duck and Weave
- Eyes to the Sky
- Friend of the Trees
- Garden Master
- Lair of Maarselok Challenger
- Lair of Maarselok Conqueror
- Lair of Maarselok Vanquisher
- Nature's Wrath
- Scalebreaker Delver
- Scalebreaker Explorer
- Scalebreaker Scout
- Scourge Purger
- Selene's Savior
- Shagrath's Shield
- Stags of Z'en Style Master
- Undying Endurance
- Weed Eater
Quests
Lair of Maarselok Map
Bosses
Set Drop
NPCs in the area
Notable Items
- TBC
Enemies

