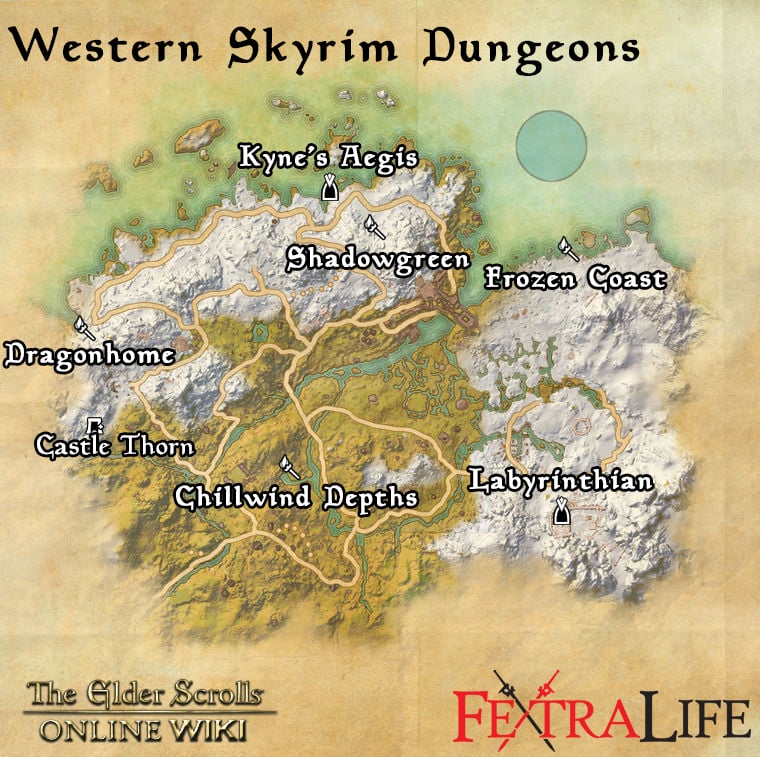
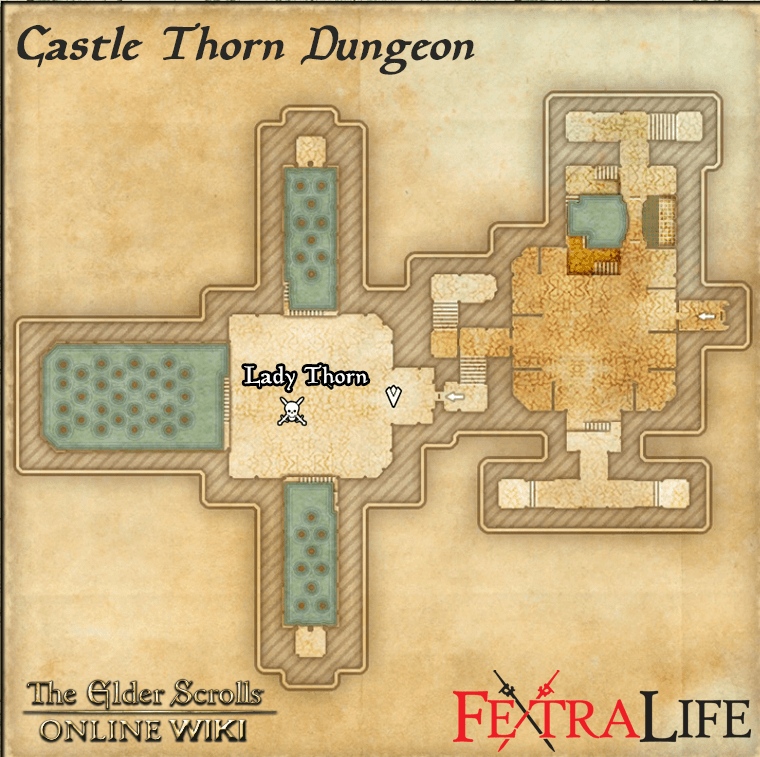
Castle Thorn is a 4-player group dungeon located in Western Skyrim in The Elder Scrolls Online (ESO). It is part of the Stonethorn DLC. It features Normal and Veteran Modes. Players can use the Group & Activity Finder tool to easily find groups to tackle this dungeon with.
This guide covers the Boss Mechanics, Strategies, Castle Thorn Set Drops and group role recommendations for Tank, DPS and Healer for Veteran Mode.
Biding her time in her mountain stronghold, Lady Thorn has quietly built her forces for some nefarious means. Now, whispers and rumors in Western Skyrim point to large host gathered at the castle, preparing to march to war … but to where and for what purpose?
Castle Thorn Veteran Walkthrough & Strategies
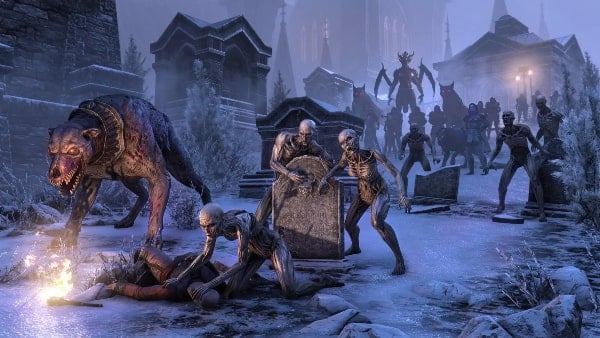
Castle Thorn is a vampire-themed dungeon and contains many vampiric and undead enemies. The dungeon has 5 bosses, with the final boss featuring a Hard Mode for extra challenge. Throughout the dungeon, you are assisted by Gwendis who will provide the dungeon's main objectives and quest.
Suggested group composition for Castle Thorn
- 1 Tank
- 2 DPS
- 1 Dedicated Healer
Objectives
- Quest: Blood of the Past - Launch a frontal assault on a Vampire Lord's castle
- Quest: Pledge: Castle Thorn - Prove you are truly Undaunted by clearing Castle Thorn
Castle Thorn Boss Guide
Dread Tindulra
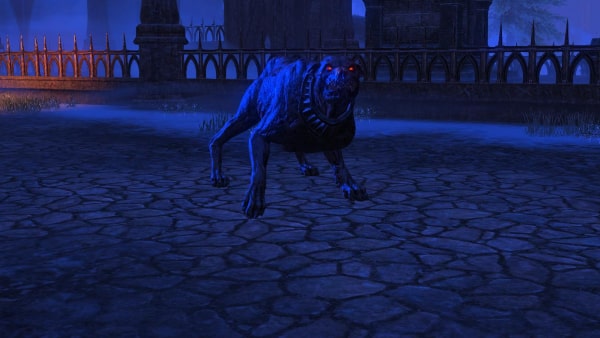
Dread Tindulra is a Death Hound that serves as the first boss of Castle Thorn. She employs primarly fire-based attacks and has fairly basic mechanics.
HP: 4.5M
Boss Mechanics:
- Light Attack (Ferocious Bite) - A standard bite attack that deals moderate flame damage. Throws fireballs instead if at range.
- Flame Retch - A flaming breath attack that deals damage in small cone in front of the boss.
- Fire Spit - Dread Tindulra raises her head and spits several fireballs that leave flaming AoE patches that persist on the ground for a few seconds. Avoid these.
- Dash - The boss charges a random player, knocking them down. Break free from this if targeted.
- Pin Down - The boss leaps at a random player and holds them in a stun-lock, dealing heavy damage over time. This attack should be interrupted.
- Summon Broodling - The boss roars and summons several Death Hound Broodlings to attack the group.
Strategy
- You will be moving quite a bit during this fight due to the flame patches. The tank should face the boss away from the group to prevent unnecessary splash damage from her cone breath. The breath should not be a threat to the tank and can easily be healed through passively.
- From 75% health, the boss will periodically summon Death Hound Broodlings and the tank should pull and stack them with the boss for easy cleaving.
- The boss will occasionally leap at a random party member and continually damage them. This attack should be interrupted immediately as it can kill a non-tank easily if ignored.
Blood Twilight
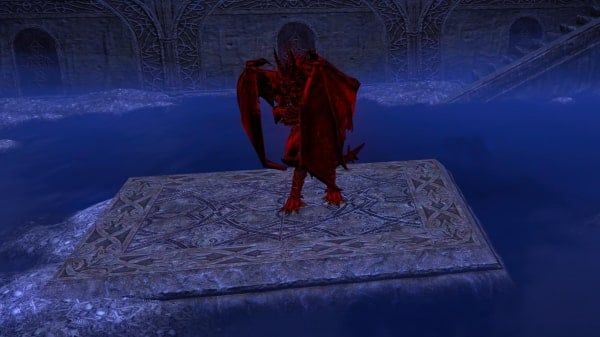
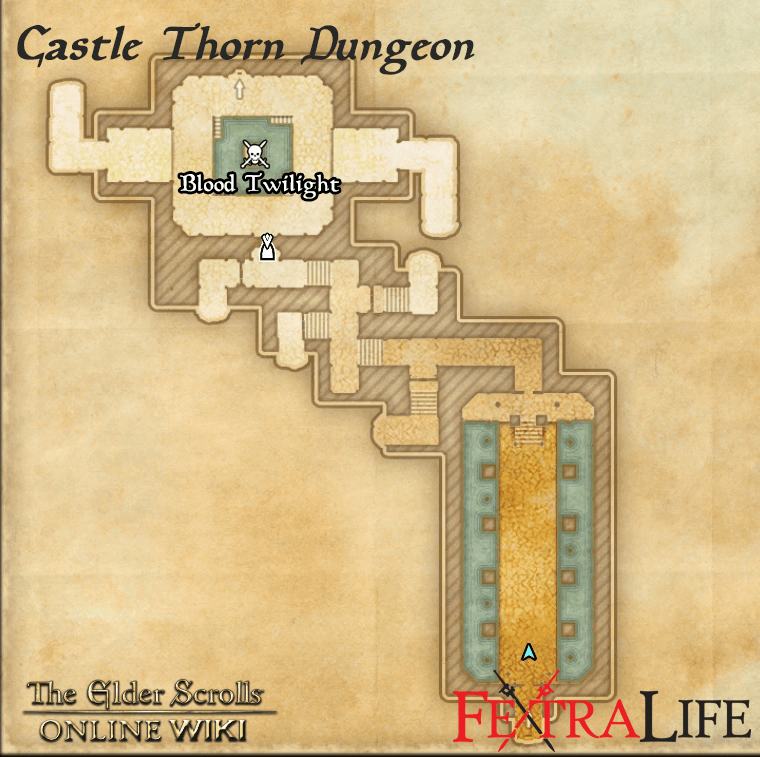
Blood Twilight serves as the second boss of Castle Thorn. It is a Grievous Twilight summoned by Talfyg in the Garden Conservatory, after stealing essence from Gwendis. This fight is a little more complex and involves different phases.
HP: 3.6M
Boss Mechanics:
- Phases - The fight occurs in two phases which are on a one-minute timer.
- Ground Phase
- Light Attack (Blood Slash) - A quick swipe with its claws that deals major physical damage.
- Heavy Attack (Shadow Strike) - The boss teleports to a target and slams down with his claws. This hits really hard but can be blocked. Will occasionally target someone other than the tank so watch out.
- Dark Barrage - The boss puts his hands in front of him and channels a spell that shoots several darkness projectiles at the target. Occasionally, he will target a random party member with this attack and the tank will need to place himself between the boss and the target while blocking.
- Summon Blood Channeler - The boss will periodically summon four Blood Channelers into the fight. These channel a stream of blood to the boss that empowers him, causing him to do extra damage with all attacks.
- Blood Mines - Dropped by Blood Channelers when they die. These explode on contact and should be avoided.
- Blood Pool Phase - The boss hovers above the center of the room and becomes invulnerable. A pool of ichor floods the middle of the room which causes heavy damage over time to players caught inside. A Reanimated Vampire also spawns which the tank needs to pick up.
- Reanimated Vampire - Deals standard physical attacks with his great sword that hit pretty hard. Also performs a cone AoE directly in front of him.
- Shades - Shades of the Twilight will periodically spawn beside players and perform a wave attack that hits in a cone. This attack will push any targets hit into the pool of ichor. Make sure to block when you see the shades spawn in.
Strategy
- Tank the boss in the upper area to prevent any mishaps with him suddenly switching phases and flooding the middle area with ichor while players are still inside.
- Keep careful watch of when the boss places both hands in front of him. If he's not targeting the tank, the tank should position themselves between the boss and the target and block immediately as the Dark Barrage move can kill a non-tank in a matter of seconds.
- Damage dealers should prioritize the Blood Channelers when they spawn in as their empower buff can make the boss' moves such as Dark Barrage and Shadow Strike significantly more problematic.
- Everyone should watch out for the Shades during the blood pool phase and block accordingly when they perform their attack. If you are pushed into the pool of ichor, hug the wall and get to the stairs immediately.
- It is entirely possible for a well-geared party to simply burn through the boss before he gets a chance to switch phases.
Vaduroth
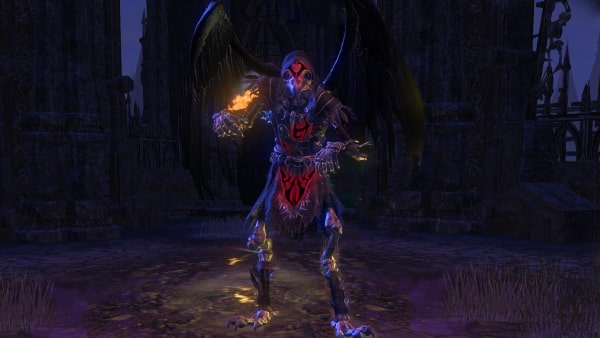
Vaduroth is a Wraith of Crows that serves as the third boss of Castle Thorn. He wields a sickle, summons adds and bombards his chamber with area of effect moves.
HP: 5.5M
Boss Mechanics:
- Light Attack - A standard swing with his sickle that deals moderate damage.
- Heavy Attack - The boss grasps his sickle with both hands and charges him a downward smash that deals heavy damage. This attack is blockable.
- Underhand Swing - The boss swings upwards from his left hand and inflicts a debuff on the tank. When the debuff expires or is removed, it causes two small AoE effects to travel outwards from the tank in random directions.
- Storm of Crows - The boss summons a storm of crows with a medium radius which roams around the room, dealing damage on contact. The storm will periodically throw out two smaller storms that travel in different directions.
- Sickle Throw - At 75% health, Vaduroth will throw his sickle at a random location and place AoE effects at each player's feet. All players are then dragged to the location of the sickle. Shortly after, the AoEs explode dealing significant damage if the players remain stacked after the pull. Vaduroth will perform this attack again at 50% health and once more at 25% health.
- Reanimate Vampire - After each sickle throw, Vaduroth will reanimate one of the vampire corpses in the room. These Reanimated Vampires deal heavy damage with their great swords, thus the tank needs to pull them immediately.
- Summon Glob - Vaduroth will jump away periodically and summon a Virulent Viscera add that spews projectiles at range.
Strategy
- Coordinate with your team and have everyone pick a direction to dodge roll away from each other during the sickle throw explosive AoE. One person can stay in place and simply let their AoE explode, so long as every one else dodges away in different direction to prevent explosion stacking.
- When the boss throws his sickle, it will be surrounded by a magical shield. You can destroy this shield and throw the sickle at one of the corpses hanging from the ceiling. This will grant you an allied Virulent Viscera that will fight for you for a while.
- While the boss does not have any cone or cleave effects, the Reanimated Vampires do and you'll want to face them away from the group.
Talfyg
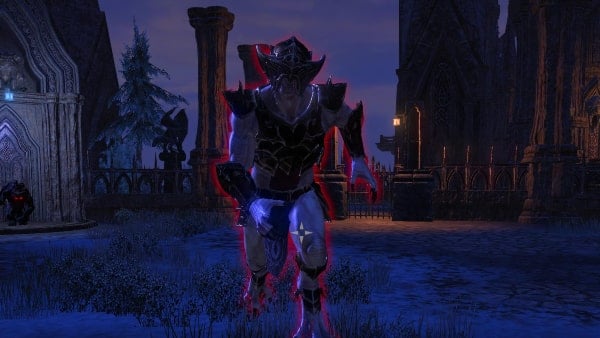
Talfyg is a Nord Vampire that you meet in the very beginning of the dungeon with Gwendis. After the events that transpire in the first half of the dungeon, he is found in the Statuary Gardens, transformed into a powerful Bloodknight. He uses ferocious claw attacks and dark magic to destroy his opponents.
HP: 6M
Boss Mechanics:
- Light Attack - Standard claw swipe that deals moderate damage.
- Heavy Attack - A devastating double claw swipe that deals very heavy damage. Block or dodge roll away from it.
- Death Beam - The boss does two versions of this move. The first is when he places his hand directly in front of him and channels a beam on the ground in front of him which deals moderate damage over time. The second version is him raising his hand up high and channeling two beams that move around randomly.
- Ground Smash - The boss channels energy within him and smashes the ground, resulting in a large devastating blast around him that also leaves an AoE that persists for a while. Dodge out of this immediately.
- Summon Gargoyle - The boss reanimates one of the Gargoyles around the arena. The Frozen Gargoyles are very slow, but generate a damaging AoE around them. The Seething Gargoyles throw fire projectiles at the party. Gwendis is present in this battle and will help stun the gargoyles from time to time.
Strategy
- Watch out for the Heavy Attack which can devastate even a tank.
- Ensure that the tank moves the boss away from the large AoE he creates, and keep him away from the gargoyles while the group destroys them.
- Keep on the move to mitigate damage from the AoEs.
Lady Thorn
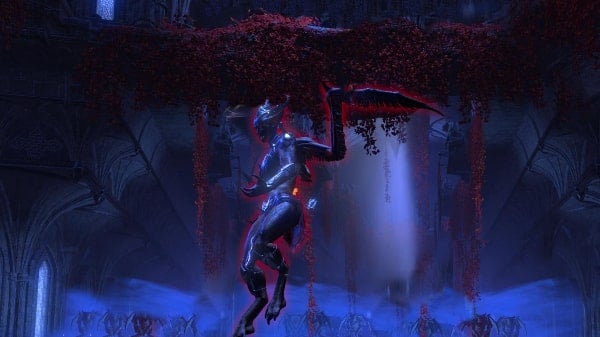
Lady Thorn is the lord of Castle Thorn and serves as the final boss. She is a powerful Vampire Lord that utilizes dark magic and has a large number of mechanics to tackle.
HP: 7.4M
Hard Mode HP: 22.2M
Boss Mechanics:
- Light Attack - Standard claw swipe that deals moderate damage.
- Heavy Attack - A devastating swipe with both claws. Block or dodge roll out of this. It can one-hit even tanks.
- Dark Bomb - The boss summons up to six bombs. If she's in the air, she summons them to her sides and they travel outwards in a line to the edges of the room. If she is on the ground, she summons them at random positions around herself and they explode in place after a short delay. There is also one or two bombs that will periodically spawn at random after her first moving Bat Swarm phase.
- Room-Wide Bat Swarm (Stationary) - The boss engulfs the entire room in a massive swarm of bats that deal periodic damage very quickly. Shortly before this attack, a small pillar of light forms somewhere in the room that creates a green circular safezone. Dash to this location and continue with the fight. Lady Thorn will continue to play out her other mechanics as normal during this attack.
- Bat Transformation - The boss turns into a large circular AoE zone made up of bats that deals heavy damage to players caught within. This storm of bats throws out smaller groups that roam around the room at random, dealing damage along their paths similar to Vaduroth's Storm of Crows. After a while, the smaller groups of bats converge on a single location and the boss reappears, dealing heavy damage in a large radius where she lands. Bat Transformation also summons four Blood Crawler adds which aren't too dangerous, but don't get caught off guard.
- Teleport Strike - The boss disappears and teleports to a random player and strikes them down. This attack should be blocked as it deals significant damage and can one-shot a target.
- Room-Wide Bat Swarm (Moving) - At 60% Health, an intermission phase begins. Lady Thorn will hover above the side of the room as the Bat Swarm engulfs the room, she cannot be attacked during this phase. This time, the safezone will roam around the room and all players will need to follow it as it moves. This phase will repeat at 20% Health. The phase has a few mechanics of its own:
- Claw Barrage - The boss will periodically swoop across the room while repeatedly clawing at players. If a player is hit, they are knocked away a short distance and stunned briefly, this is enough to get you killed by the bat swarm so recover quickly and dash back in the circle.
- Dark Bombs - Periodically spawn inside the safe zone.
- Blood Guardian Add - An add with a lot of health and an attack that needs to be interrupted.
- Blood Scavenger - These are the key to ending the phase. These adds drop a Blood Corruption synergy that need to be picked up and tossed at the boss. After throwing four blood corruptions at the boss, the phase ends.
Boss Hard Mode Additional Mechanics:
- Hard Mode for Lady Thorn is activated by raising the Challenge Banner found near the entrance to her chamber.
- The biggest difference in Hard Mode is after the Bat Swarm at 20% Health, the swarm will remain in the room but the boss becomes targetable and on the ground. You will need to play the execution phase while remaining in the moving safezone and dealing with most of the boss' mechanics including the bombs, adds and teleport strikes. Additionally, the following attacks are modified:
- Heavy Attack - One-shots if not blocked or dodge rolled.
- Teleport Strike - One-shots if not blocked or dodge rolled.
- Bat Transformation - Throws out a lot more groups of bats.
Strategy:
- Try to tank the boss near the center of the room in most scenarios to give plenty of room to avoid her massive AoEs.
- The Heavy Attack and Teleport Strike are incredibly damaging, especially on Hard Mode. Maintain awareness and be prepared to block or dodge roll at all times.
- During the moving Bat Swarm phases, the tank should try to pull all the adds into the safe zone as collecting the Blood Corruption synergy can prove fatal outside the circle. There is a brief moment of invulnerability when you activate the synergy but getting back to the safezone can prove difficult if it moves away from you.
Rewards
- Unidentified Castle Thorn Armaments
- Undaunted Key
- +1 Skill Point
- Dye: Hazardous Chartreuse (Stonethorn Delver Achievement)
- Pet: Energetic Dwarven Shock-Spider (Stonethorn Explorer Achievement)
- Skin: Reanimated Vampiric Thrall (Castle Thorn Conqueror Achievement)
- Title: Bane of Thorns (Bane of Thorns Achievement)
- Title: The Inedible (Thorn Remover Achievement)
Trivia
Dungeon Gallery
Information
- Location: Western Skyrm
- Suggested Level: Max
- Final Boss: Lady Thorn
Achievements
- Bane of Thorns
- Castle Thorn Challenger
- Castle Thorn Conqueror
- Castle Thorn Vanquisher
- Four by Four
- Guardian Preserved
- Homewrecker
- Hound Pound
- Impervious Onslaught
- Let Sleeping Gargoyles Lie
- Sickle Skills
- Stonethorn Delver
- Stonethorn Explorer
- Stonethorn Scout
- Taking Turns
- Thorn Legion Senche-Raht Slayer
- Thorn Legion Slayer
- Thorn Remover
Quests
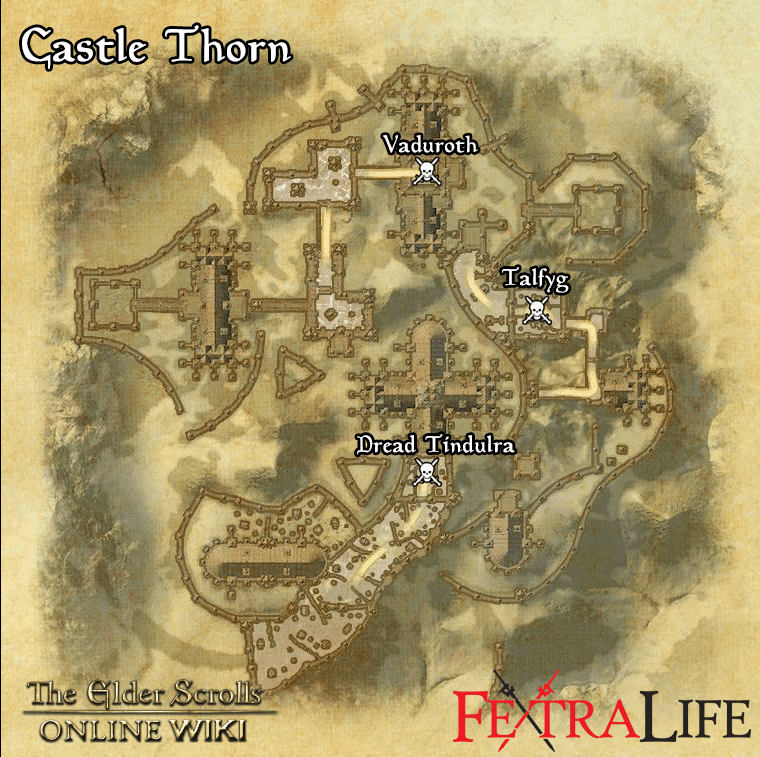
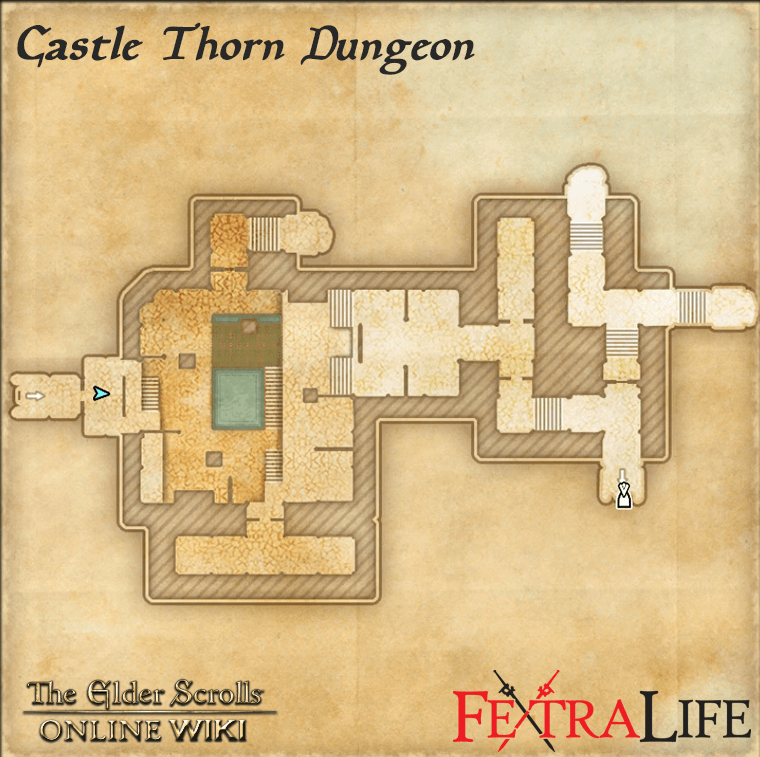
Castle Thorn Map
Bosses
Set Drop
NPCs in the area
Notable Items
Lorebooks:
Enemies
- Bloodfiend
- Blood Crawler
- Blood Guardian
- Blood Scavenger
- Death Hound
- Death Hound Broodling
- Frozen Gargoyle
- Hemoptera
- Vaduroth's Sickle
- Virulent Viscera
- Reanimated Vampire
- Seething Gargoyle
- Skeletal Hound
- Thorn Legion Marksman
- Thorn Legion Mauler
- Thorn Legion Quickblade
- Thorn Legion Sanguimancer
- Thorn Legion Senche-raht

