Ruins of Mazzatun is a 4-player group dungeon located in Shadowfen in The Elder Scrolls Online. It is part of the Shadows of the Hist DLC. It features Normal and Veteran Modes. Players can use the Group & Activity Finder tool to easily find groups to tackle this dungeon with.
Veteran Walkthrough & Strategies
Zatzu
HP:
Strategy:
Zatsu is little more than a fancy Stoneshaper with a large health bar. Simply block when he is throwing rocks and DPS when he isn’t. This shouldn’t be a hard fight.
The Mighty Chudan
HP:3M
Strategy:
In order To defeat the Mighty Chudan, all you need is a good tank and to pay attention. The reason you need a tank is because the boss has a distance attack that is can be really hard to avoid and it can one shot you. Beyond that, the fight is just DPSing him down and waiting for an AoE to appear under you. If you’re marked you need to line up with the shielded enemy and wait for Chudan to charge. This is the only way to kill them and messing this up once is basically a wipe. Please note, the second AoE that appears is a time indicator. It’s there so you know how long until he charges, so pay attention to it.
Xal-Nur
HP:
Strategy:
Unlike the previous bosses, Xal-Nur is a real challenge. Most of this fight will is a simple DPS race, but he has some annoying moves. His charge, which is set to go after whoever is furthest can be interrupted, but he casts fear at the same time. This means someone has to actually make their way towards him to stop it. Though the problems don’t start until you remove a quarter of his health.
At this point he will summons adds, become immune to damage and spit out something called spice. The idea here is that you need to touch the spice and move it to the geyser. It will always be the further one, so you want to try and tank the boss in the middle. He will also be immune to damage until you remove the spice, so make sure to take care of it quickly. As for the rest of the fight, you can kill the archers by killing the tamers to let loose a beast, so you really only need to kill the trolls. This can be tedious, but if you stop them from healing it isn’t so bad. Rinse and repeat until you win the fight.
Tree-Minder Ka-Nesh
HP:
Strategy:
Ka-Nesh is easily the most diffcult boss here, since there are so many things that can go wrong and cause a group to fail. The main idea of this fight is communication and kill orders.
You want to start by damaging the boss until a totem appears. The second it appears you want to destroy it or it will cause problems. Kill the adds, if you want to and focus on the boss. During this someone will need to attack a totem. It will be the one that glows for everyone besides the one affected, so you either need to say where it is or use the synergy. Destroy the statue to continue with the fight.
At a certain point Ka-Nesh will summon the second and then third bosses. They work relatively the same way except they lack their mechanics. The idea here is to get your resources/ultimate and then defeat them. There is no advantage to killing them quickly. Repeat until the fight ends.
Trivia
- ??
Ruins of Mazzatun Information
- Location: Shadowfen
- Suggested Level:
- Final Boss: Tree-Minder Ka-Nesh
Achievements
- Ruins Of Mazzatun Vanquisher
- Ruins Of Mazzatun Challenger
- Ruins Of Mazzatun Conqueror
- Mazzatun Massacre
- Sapped Sludge Slinngers
- Tree-Minder's Mania
- Ruination
- Unbowed
- Haj Mota Matador
- Obedience Training
- Clean Freak
- Blind Luck
- Sticky Situation
- Saviour Of The Su-Zahleel
Quests
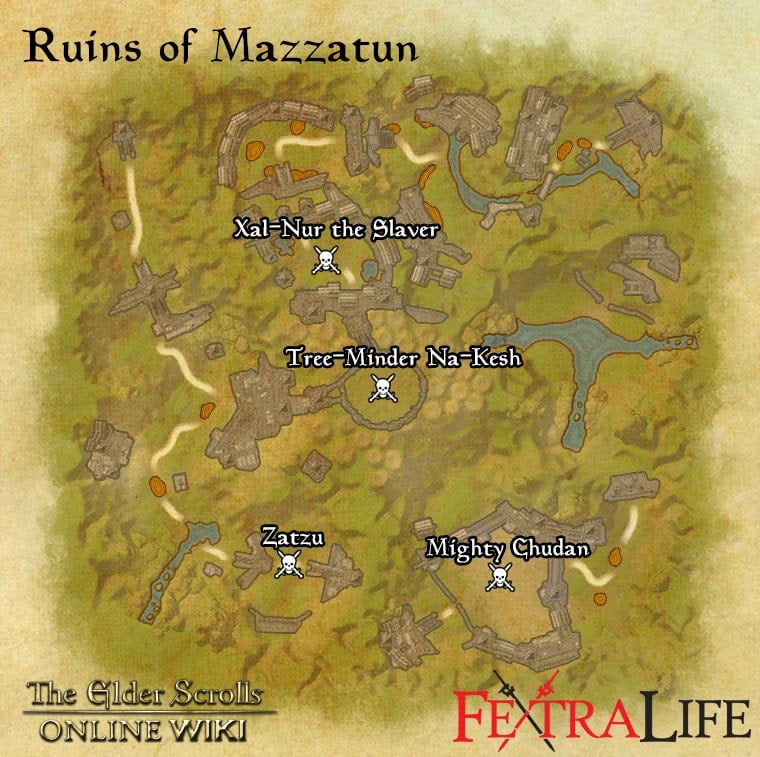
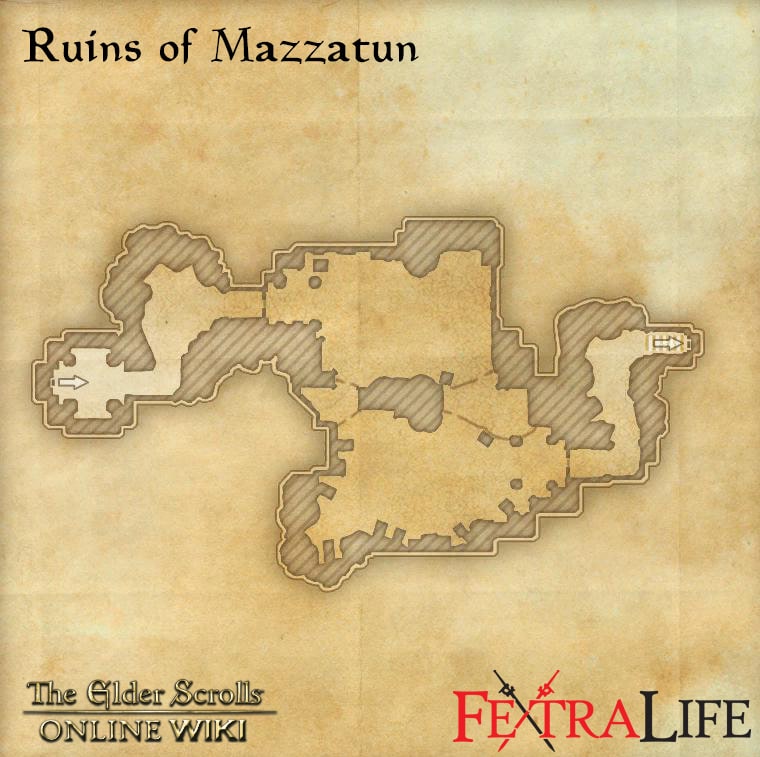
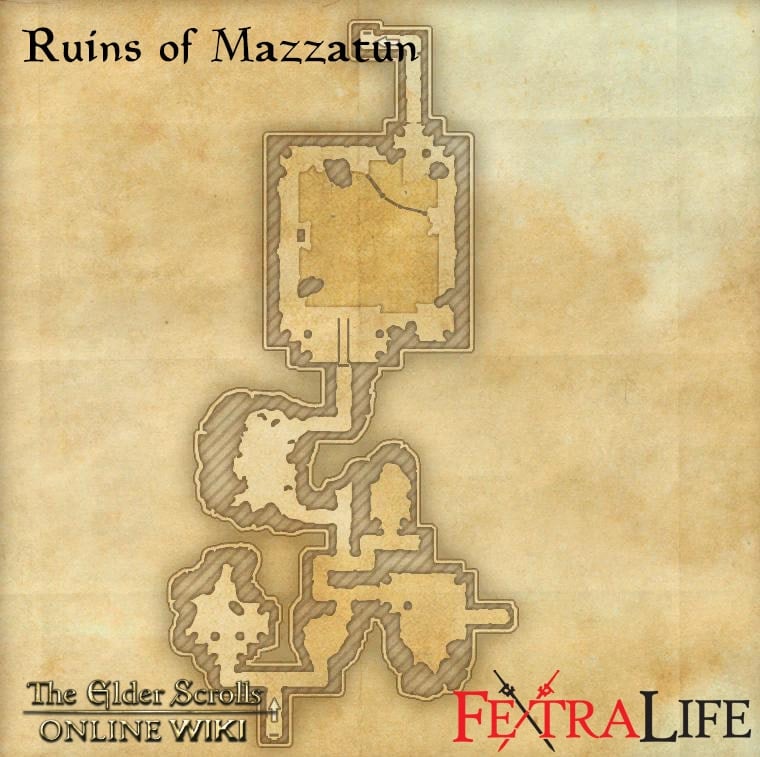
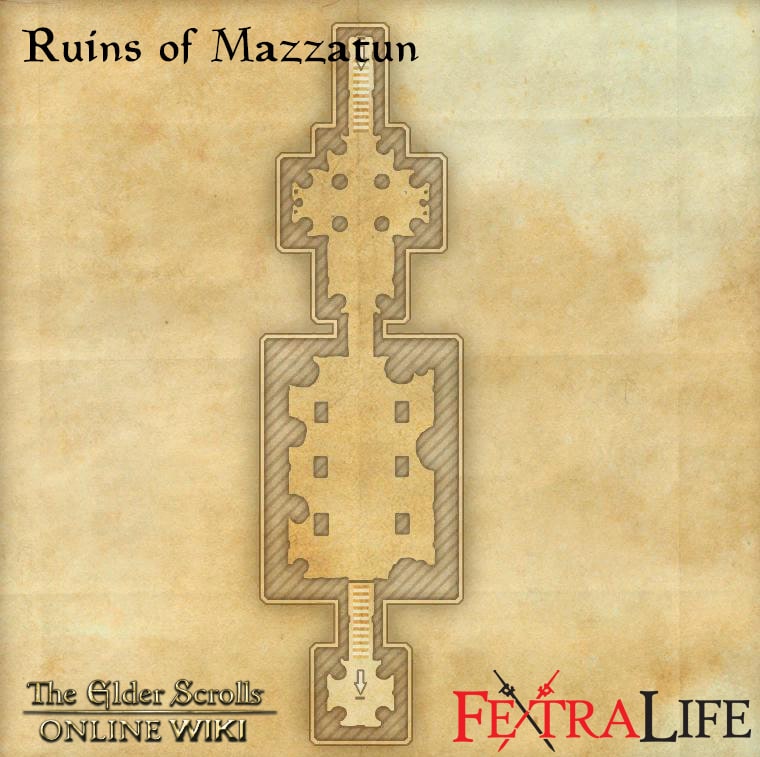
Ruins of Mazzatun Map
Bosses
Set Drop
NPCs in the area
Notable Items
- Farewell Letter
Enemies
- ??
 Anonymous
i spam puncturing sweep onto a group of mobs and still almost get killed by these annoying glowing red mobs

 Anonymous
 Anonymous
 Anonymous
 Anonymous


On veteran mode summoned bosses at finalboss have they mechanics + as boss is on low health he will cast spining AOE roots that deals dmg? (not sure bc i played tank) and pushes back (its fast so you need to be faster :D).
0
+10
-1